Deposits
Introduction
The Reservations for Platforms API allows integrators to accept deposits or pre-payment for reservations and transmit the details to the Lightspeed Restaurant K-Series POS. A deposit can be subsequently applied as a payment for the order linked to the reservation.
Below you will find instructions for enabling the deposits feature in the Lightspeed Restaurant K-Series Back Office, sending deposit details and applying payment using deposits.
-
Make sure you have configured a reservation Platform Profile with
depositSupportedset totrue. -
Make sure you have an account on the trial server for testing. If you do not have a test account, you can request one through the Developer Portal.
Part 1 - Enabling Deposits
Step 1 - Locate Reservation Settings
If your Platform Profile is correctly configured, you should see a tile for your reservation platform under the Integrations > Reservations screen. Click on "More details".

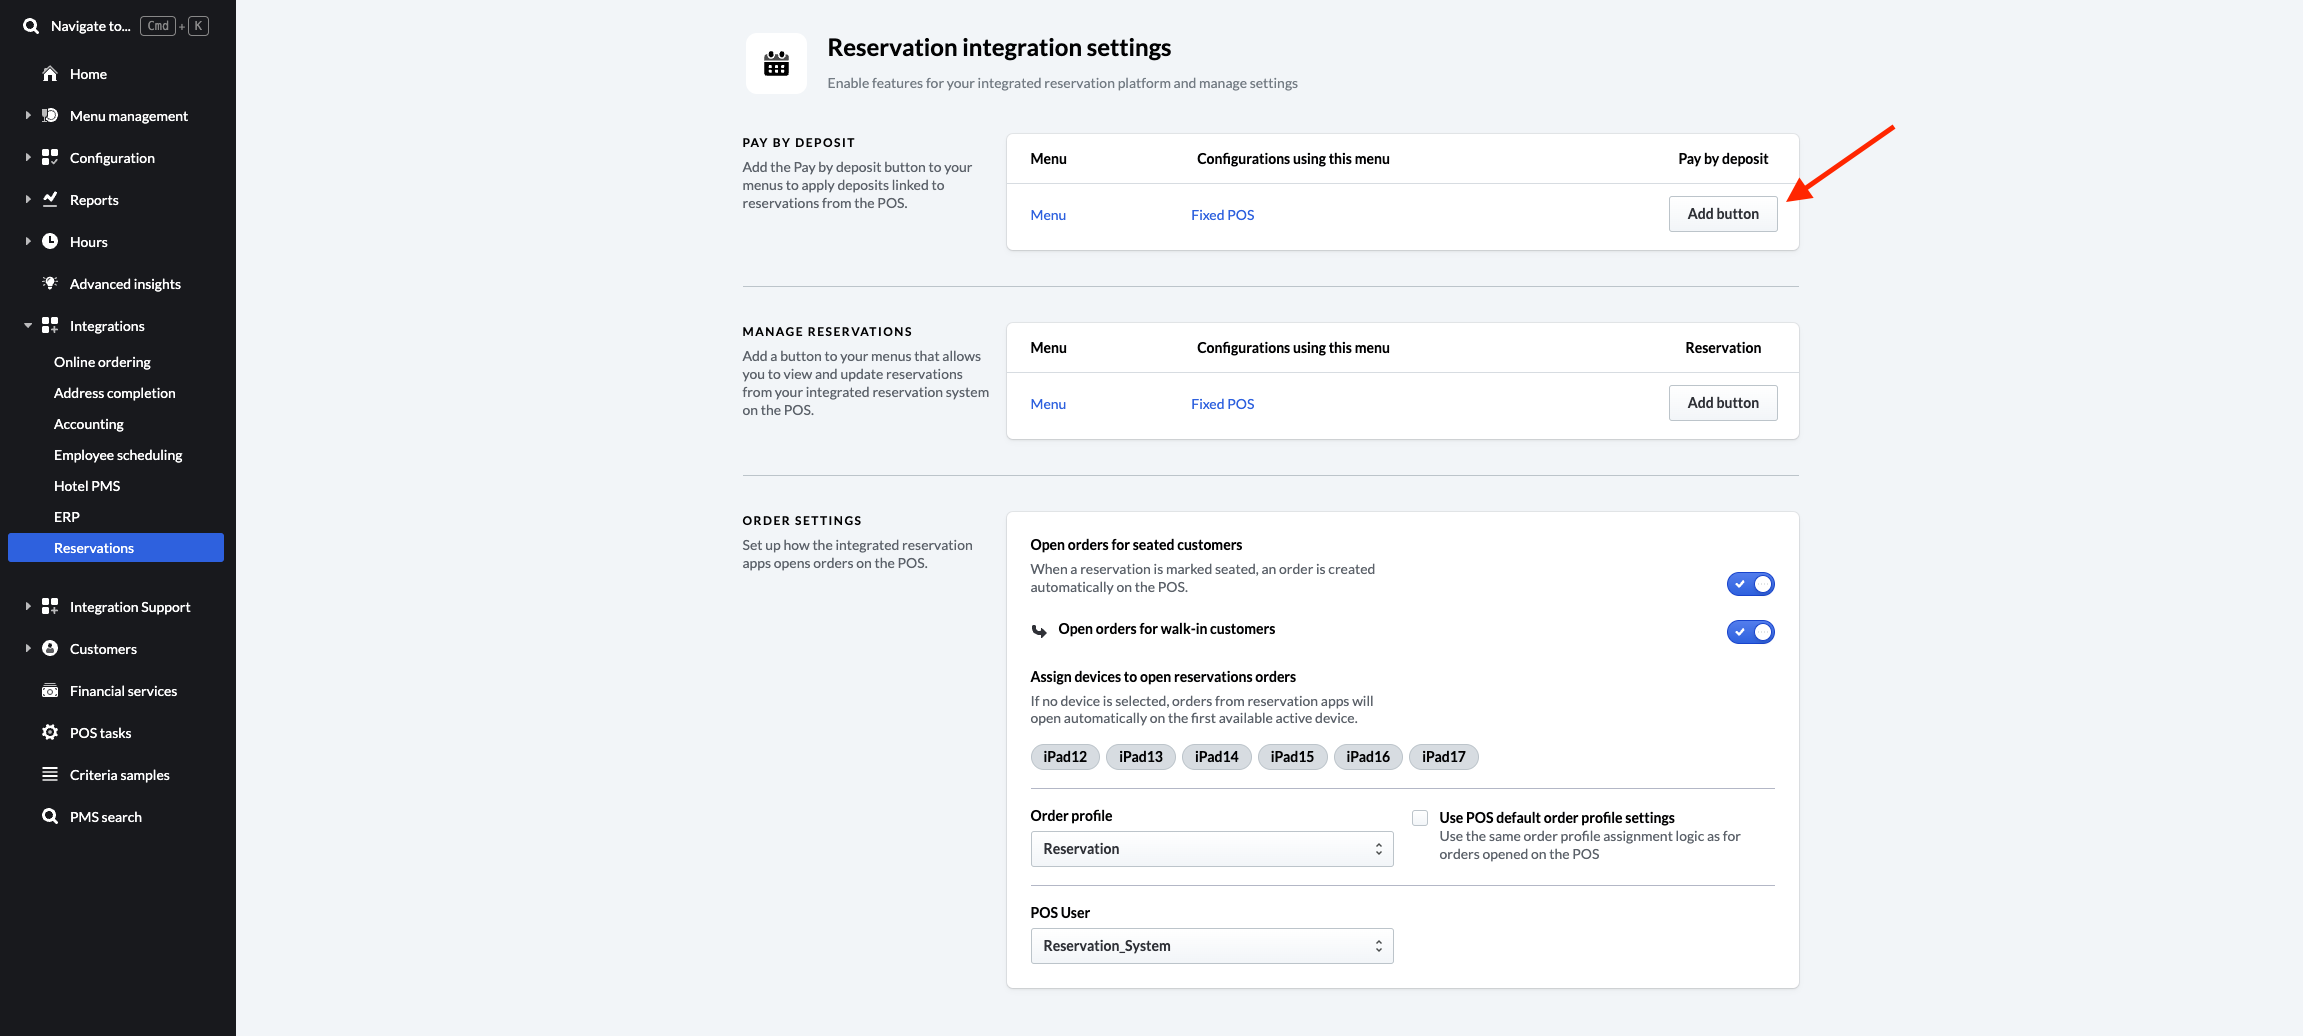
Step 2 - Add Menu Button
In the reservation settings, click on "Add Button" to configure a new menu button for managing deposits in the POS.
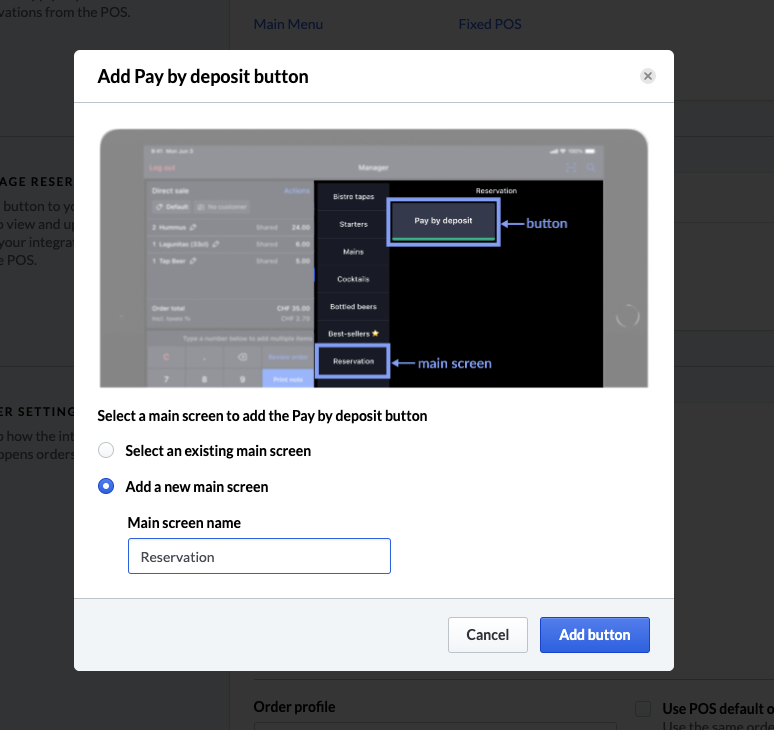
Step 3 - Button Options
You have the option of adding a deposit button to an existing menu screen, or creating a new screen for the button.
Part 2 - Sending Deposit Details
When creating a reservation, you can include a liability object in your reservation request. This allows the restaurant to collect a deposit or pre-payment for the reservation.
Step 1 - Configure Your Reservation Payload
Include deposit details in your reservation payload in the deposits array within the liability object. The deposit object should include the deposit amount, a unique identifier for the deposit, and the currency.
{
  "status": "SEATED",
  "partySize": 2,
  "guest": {
    "platformGuestId": "ABC-123",
    "firstName": "John",
    "lastName": "Smith",
    "email": "john.smith@email.com",
    "phone": "+13453455555",
    "walkIn": true
  },
  "tableNumbers": [
    "1"
  ],
  "notes": "My birthday",
  "liability": {
    "currency": "USD",
    "deposits": [
      {
        "platformDepositId": "unique-deposit-id",
        "amount": "10.00",
        "voided": false,
        "utcCreatedAt": "{{currentTimestamp}}"
      }
    ]
  },
  "utcScheduledAt": "{{currentTimestamp}}",
  "utcUpdatedAt": "{{currentTimestamp}}",
  "sequenceId": {{sequenceId}}
}
Step 2 - Send Reservation Request
Once a reservation request with a status of SEATED or PARTIALLY_SEATED is sent to the Create or Update Reservation endpoint, the reservation will be visible in the POS and the deposit will be available to apply as a payment.
Part 3 - Applying Deposit Payments
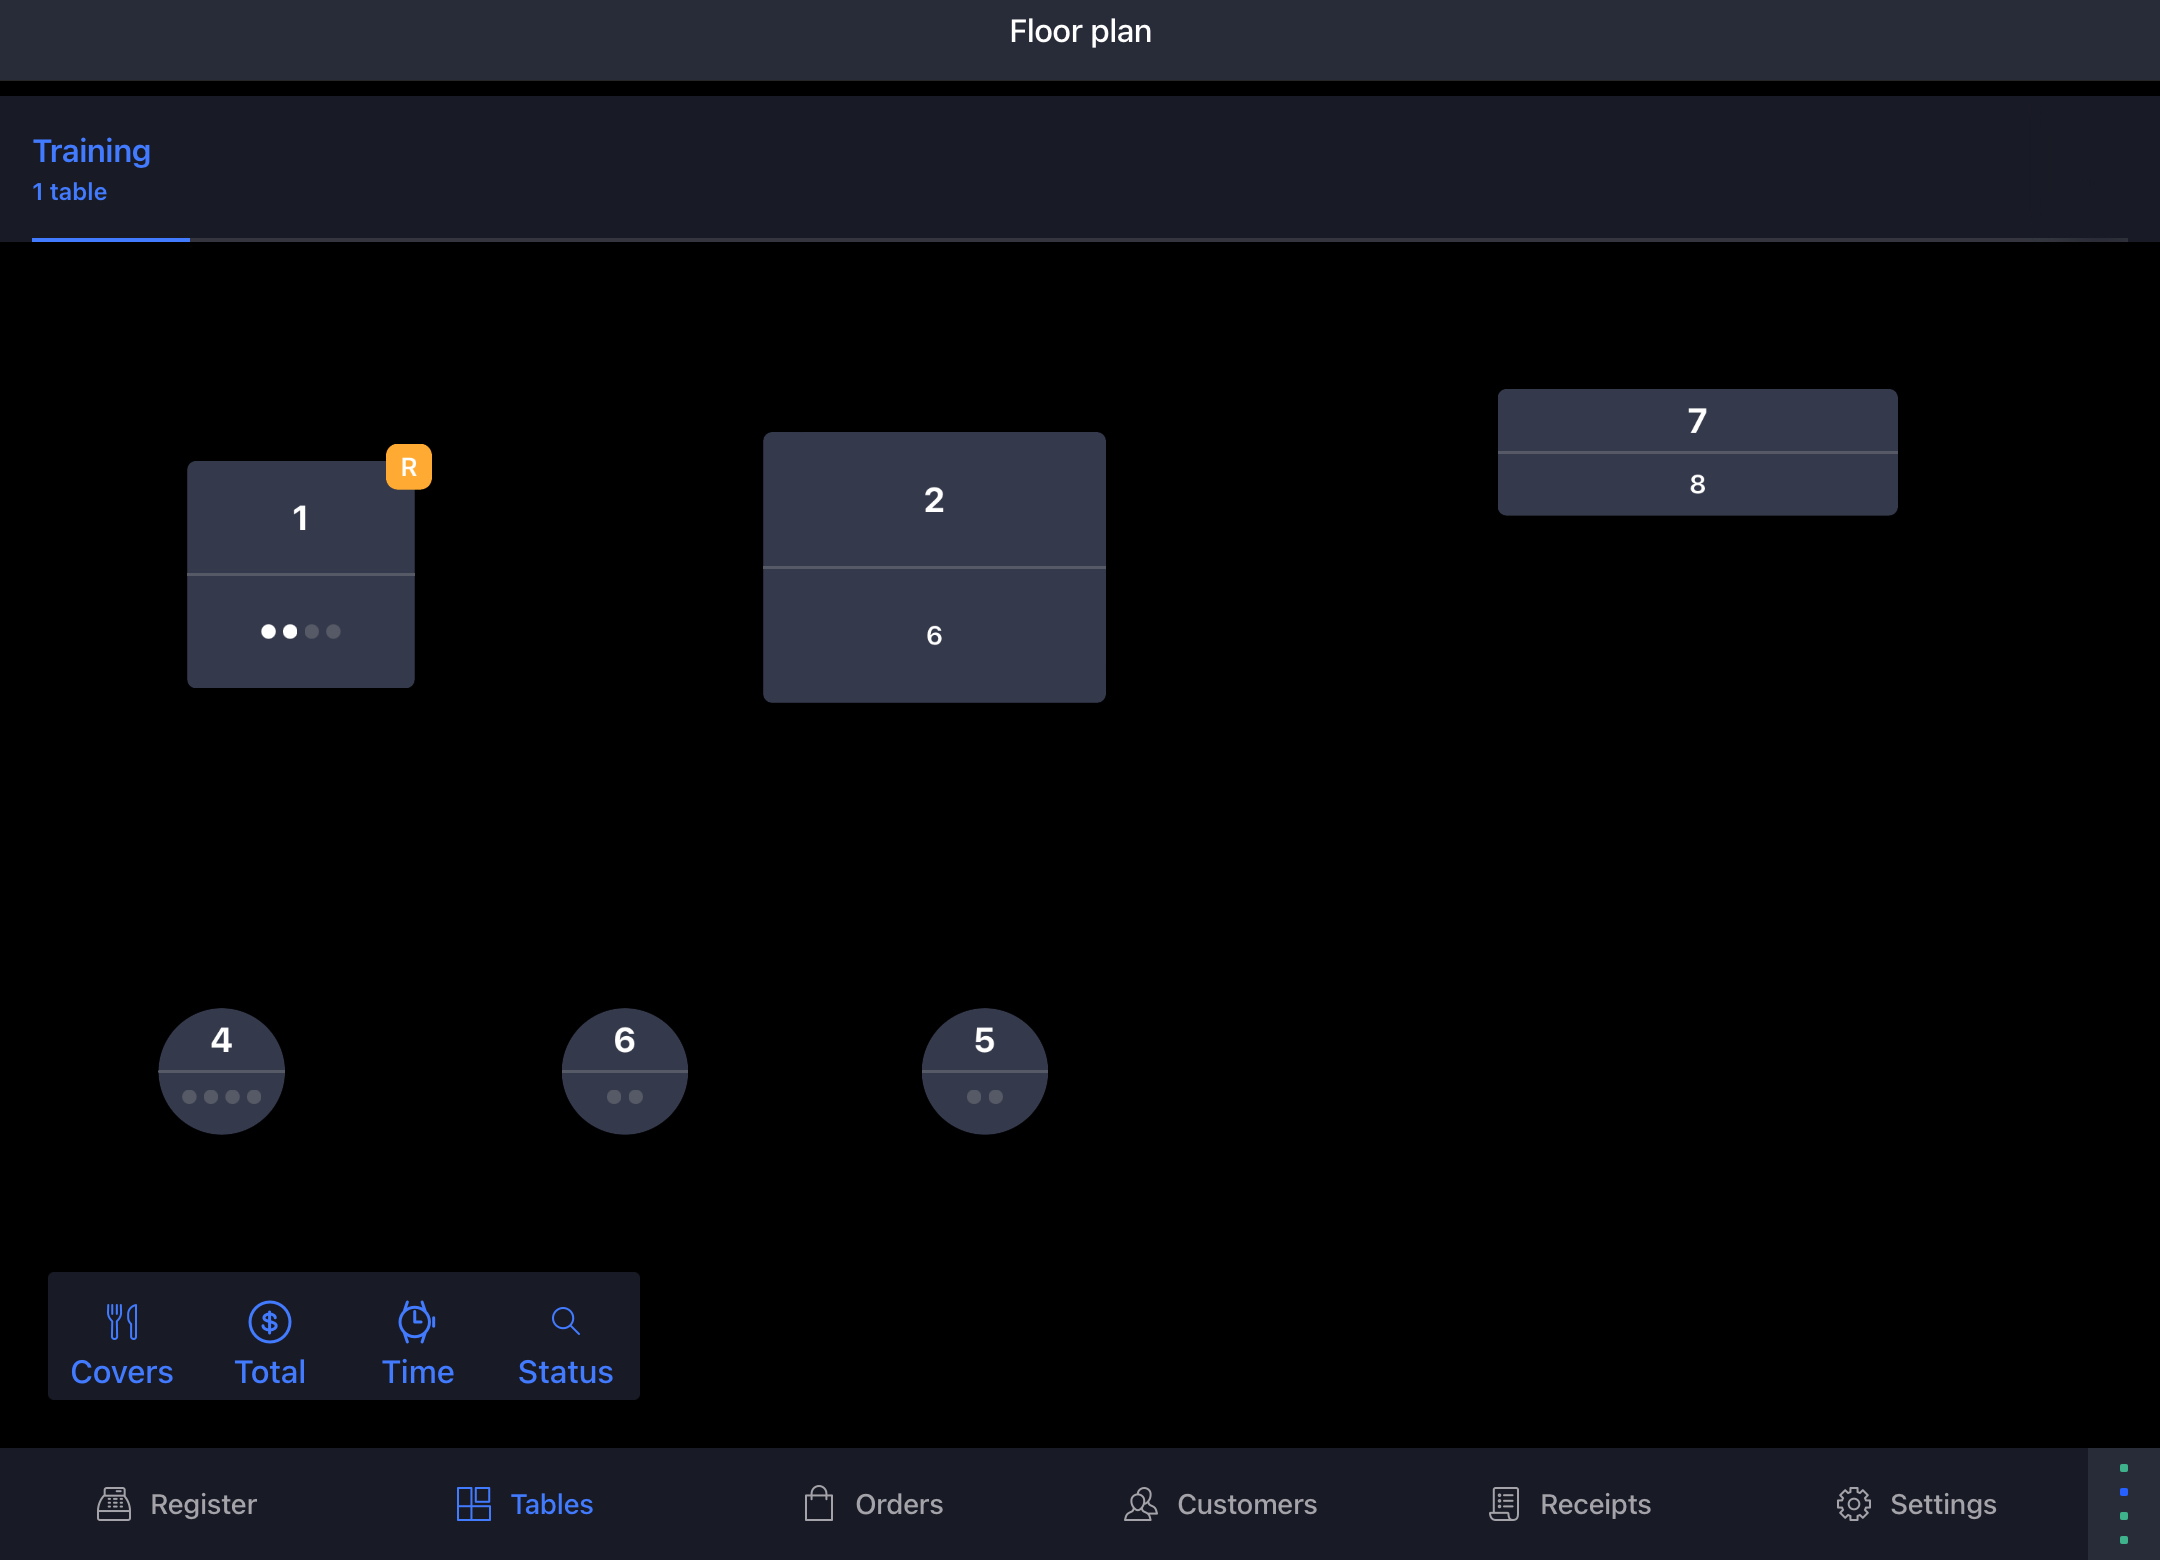
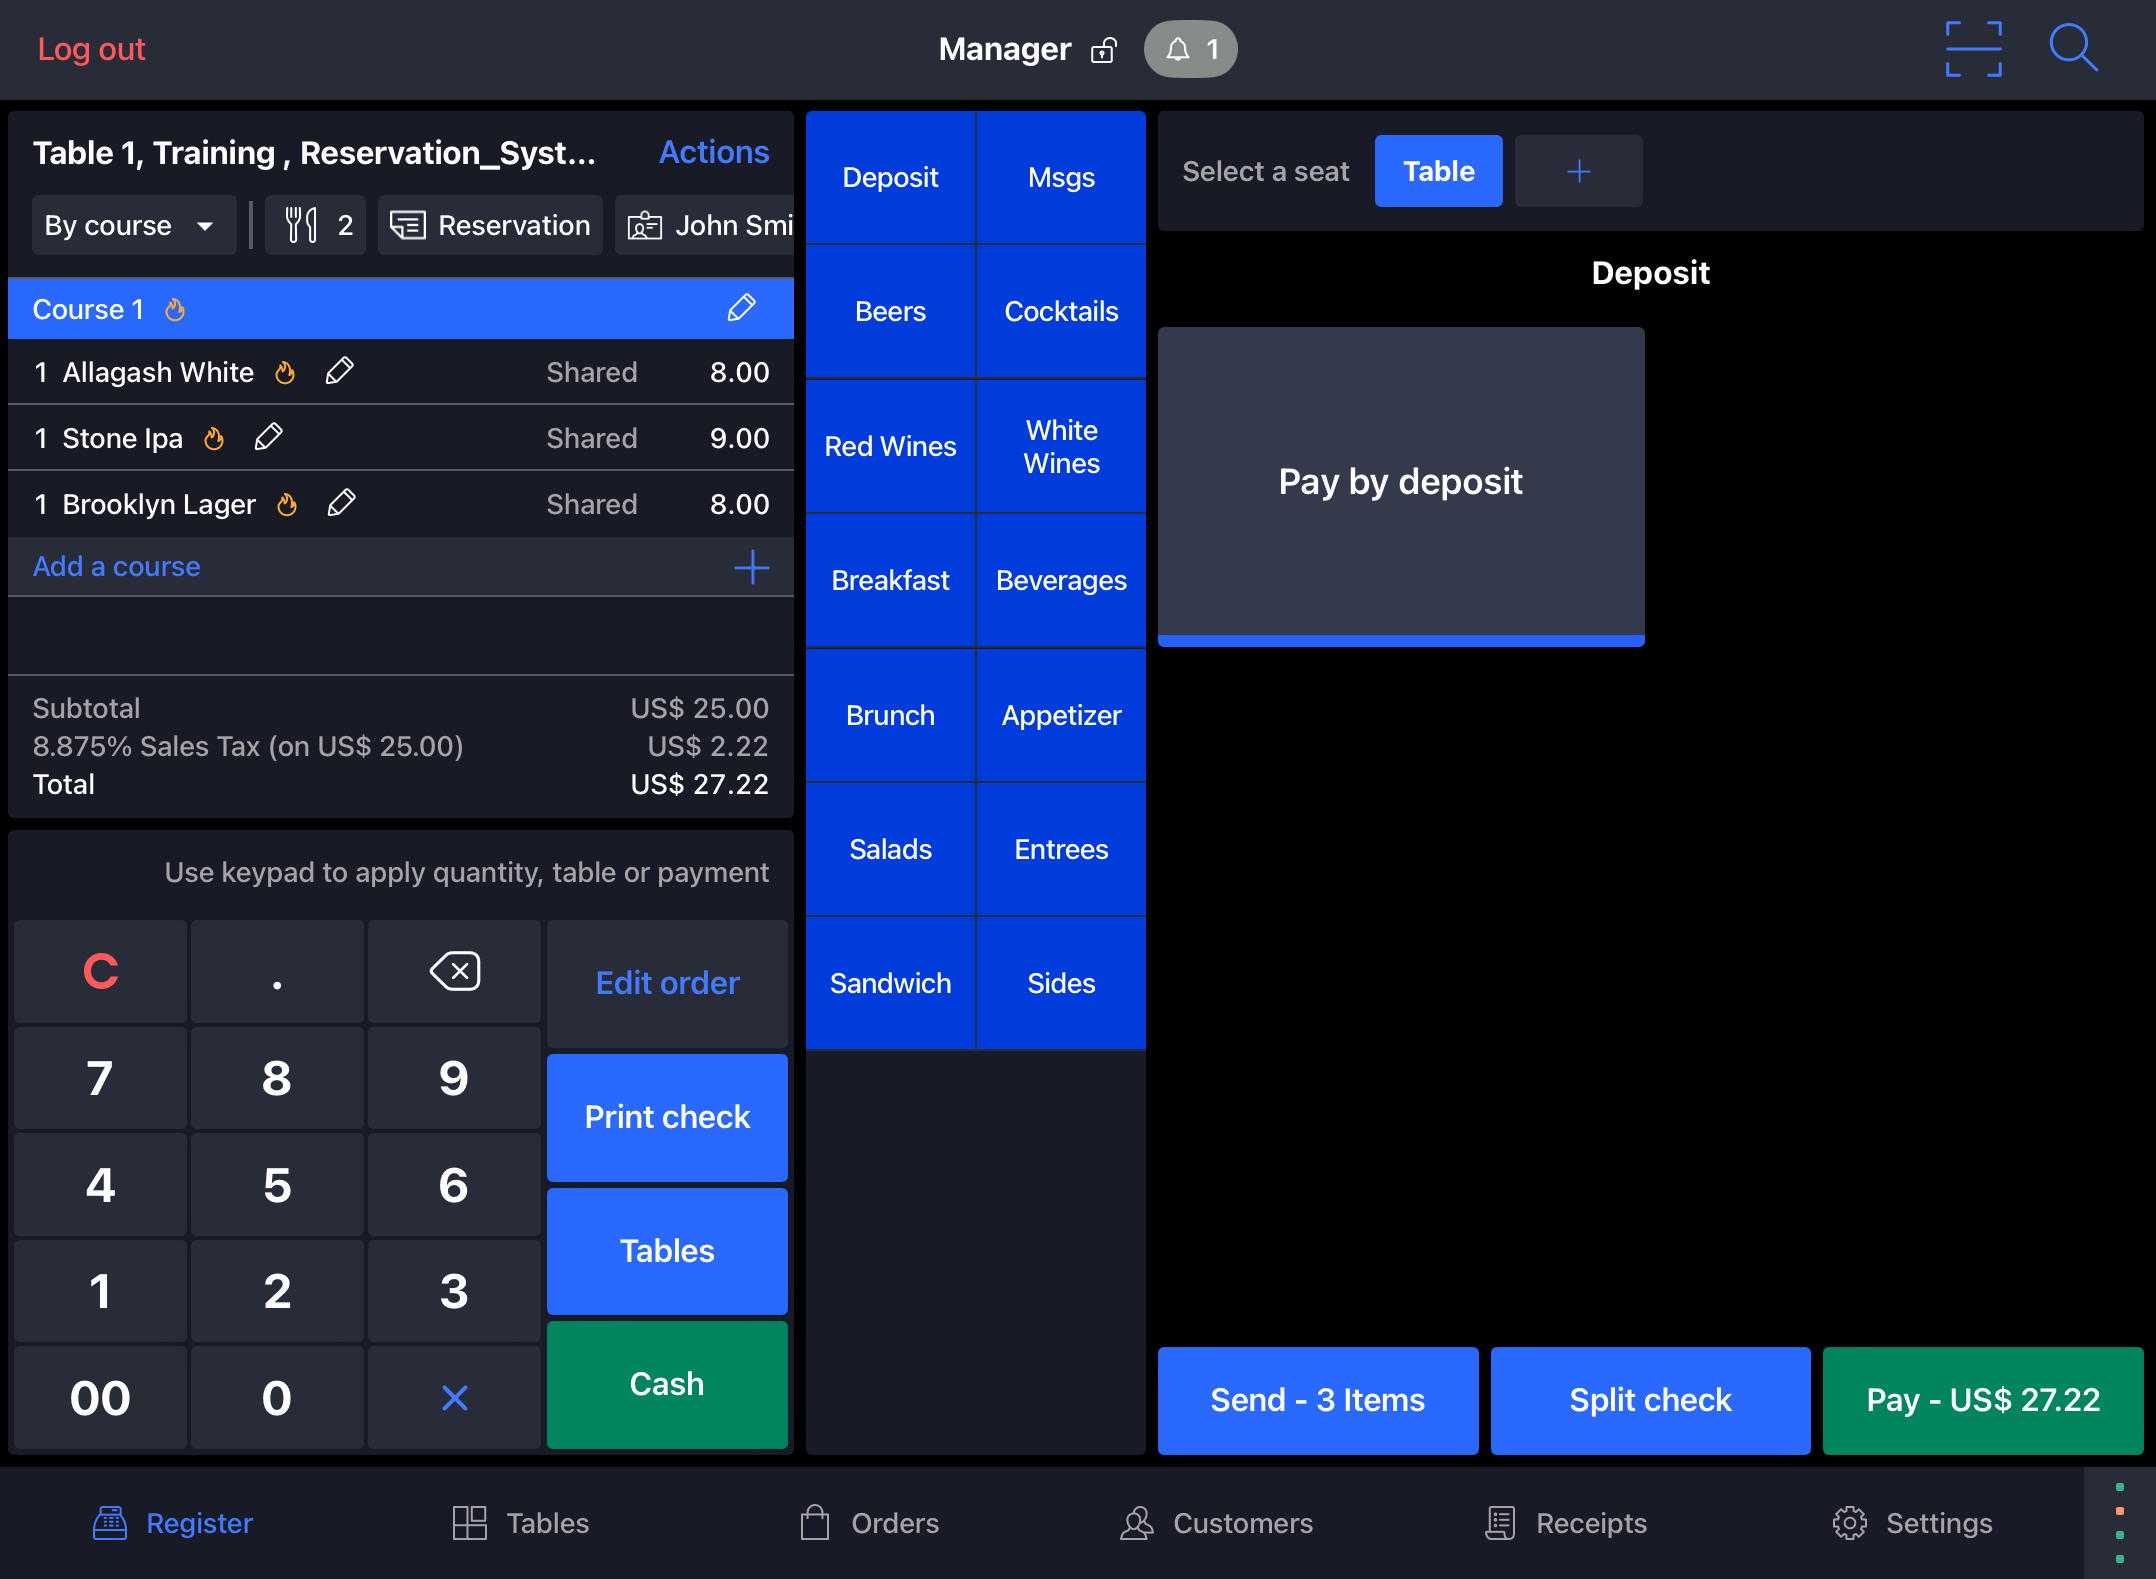
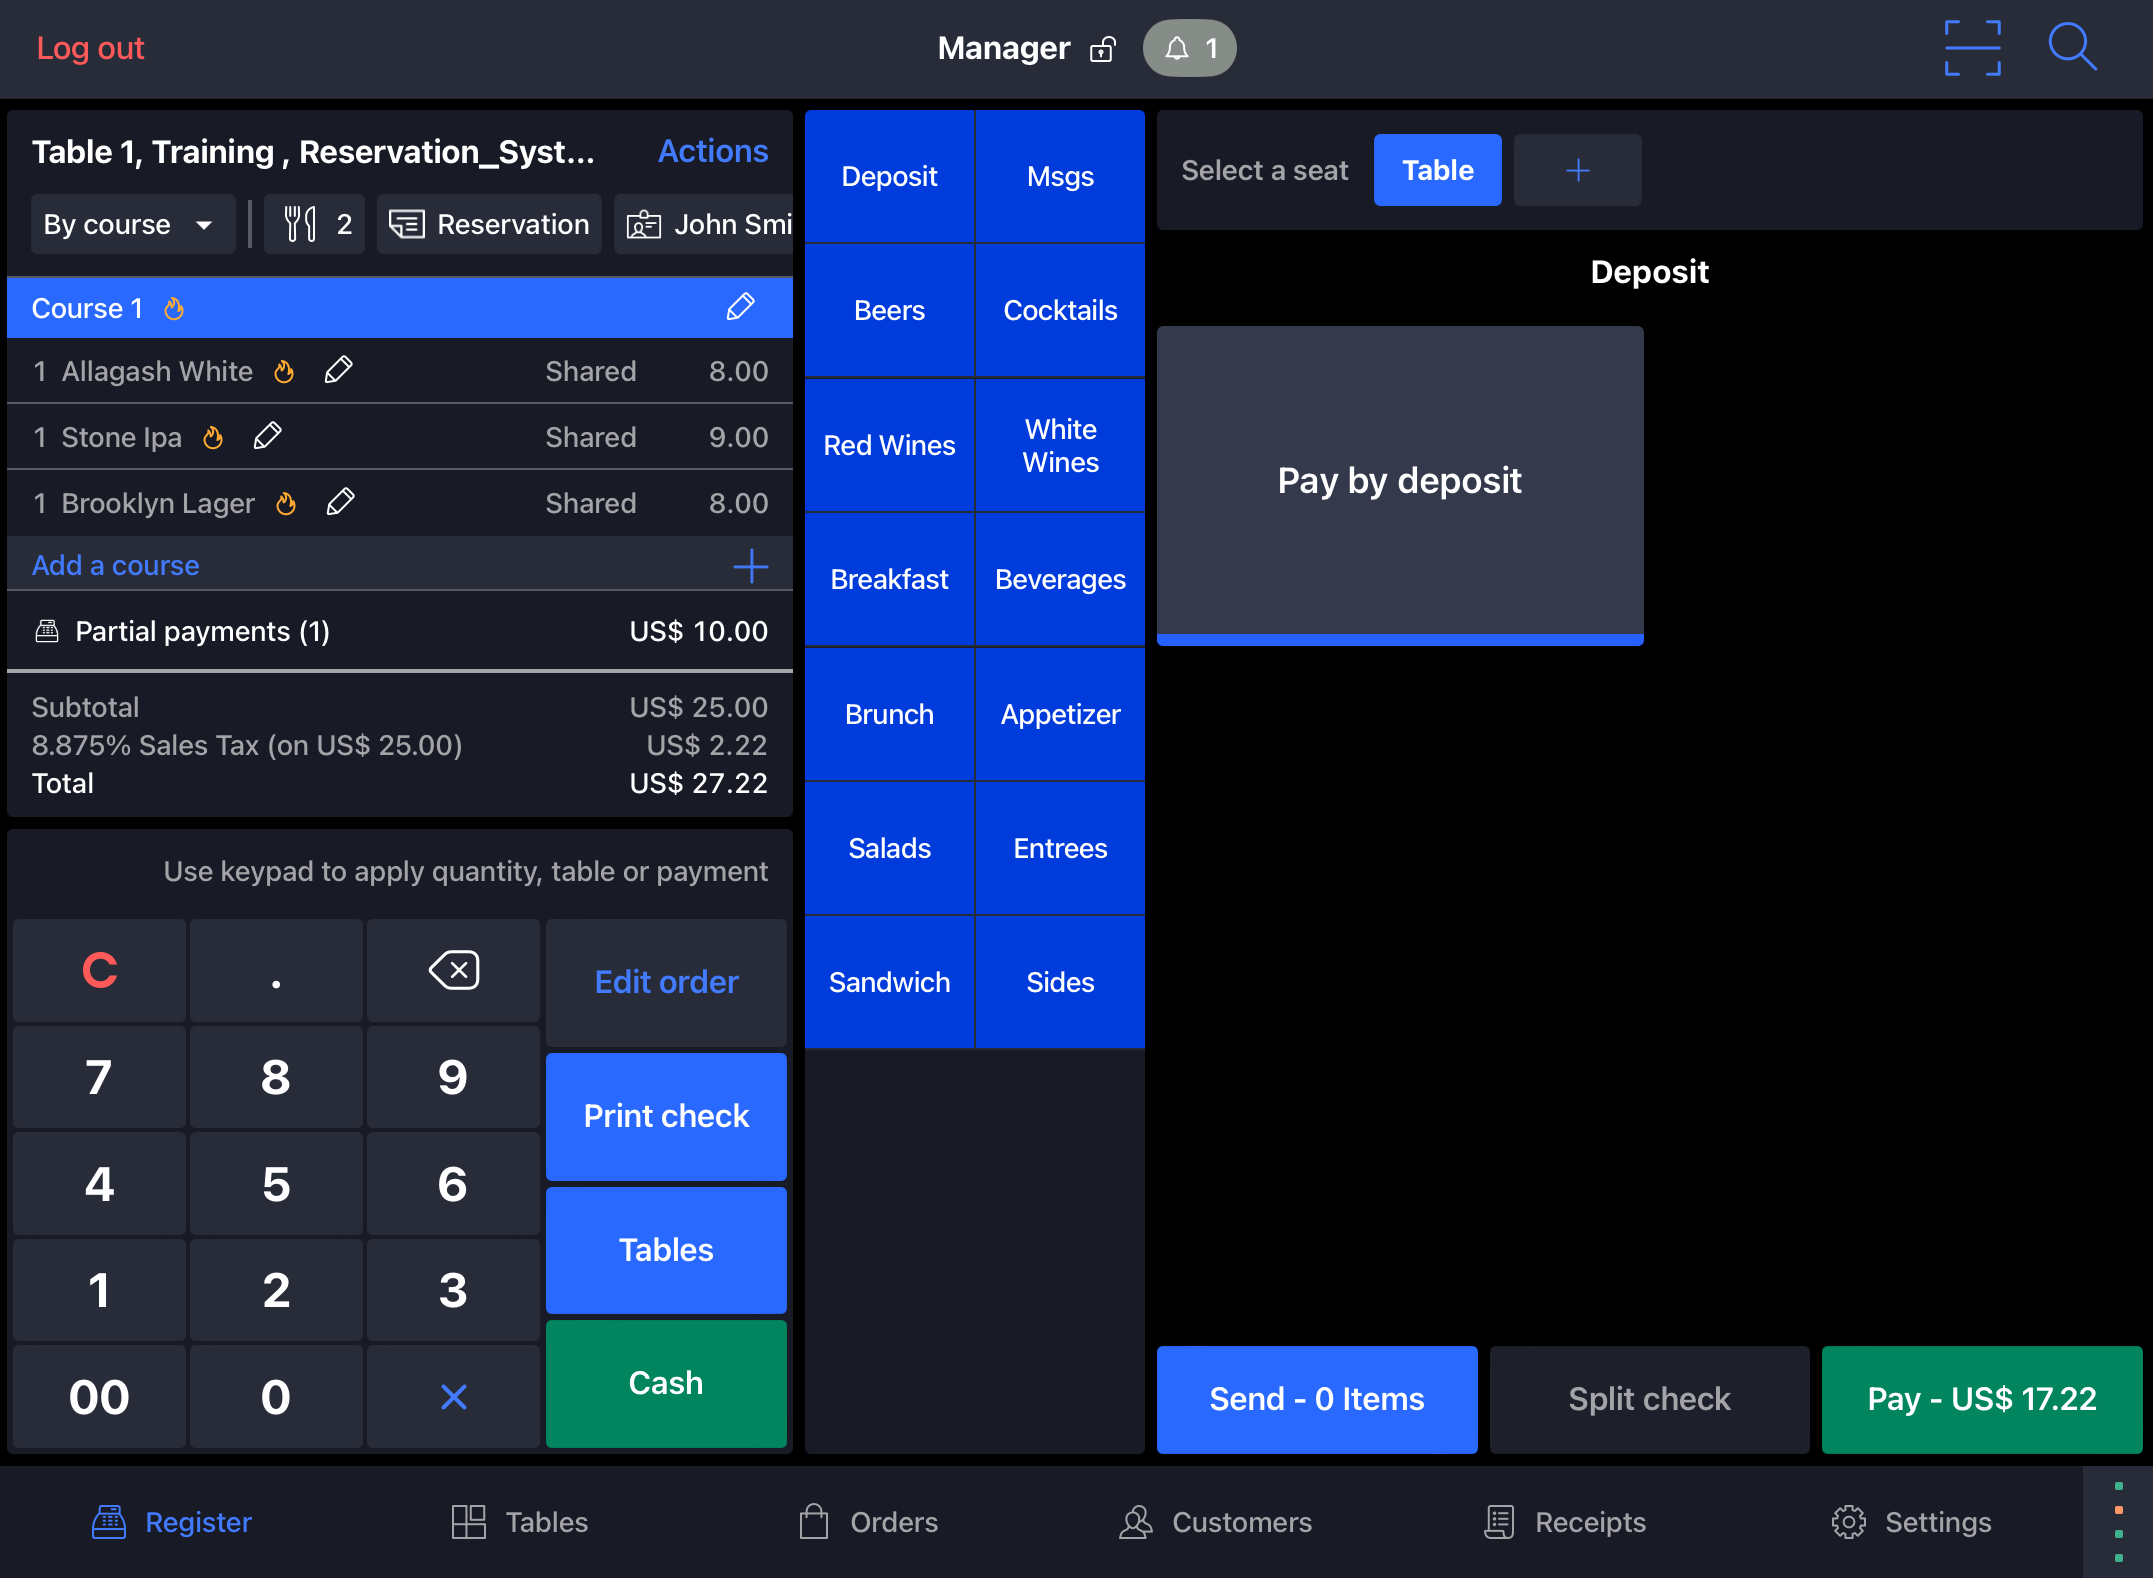
When a reservation is created with a deposit, an order will be opened in the POS on the specified table. Once items are added to the order, the 'Pay by deposit' button can be selected on the menu screen and the deposit can be applied as a payment.
Step 1 - Open Reservation Order
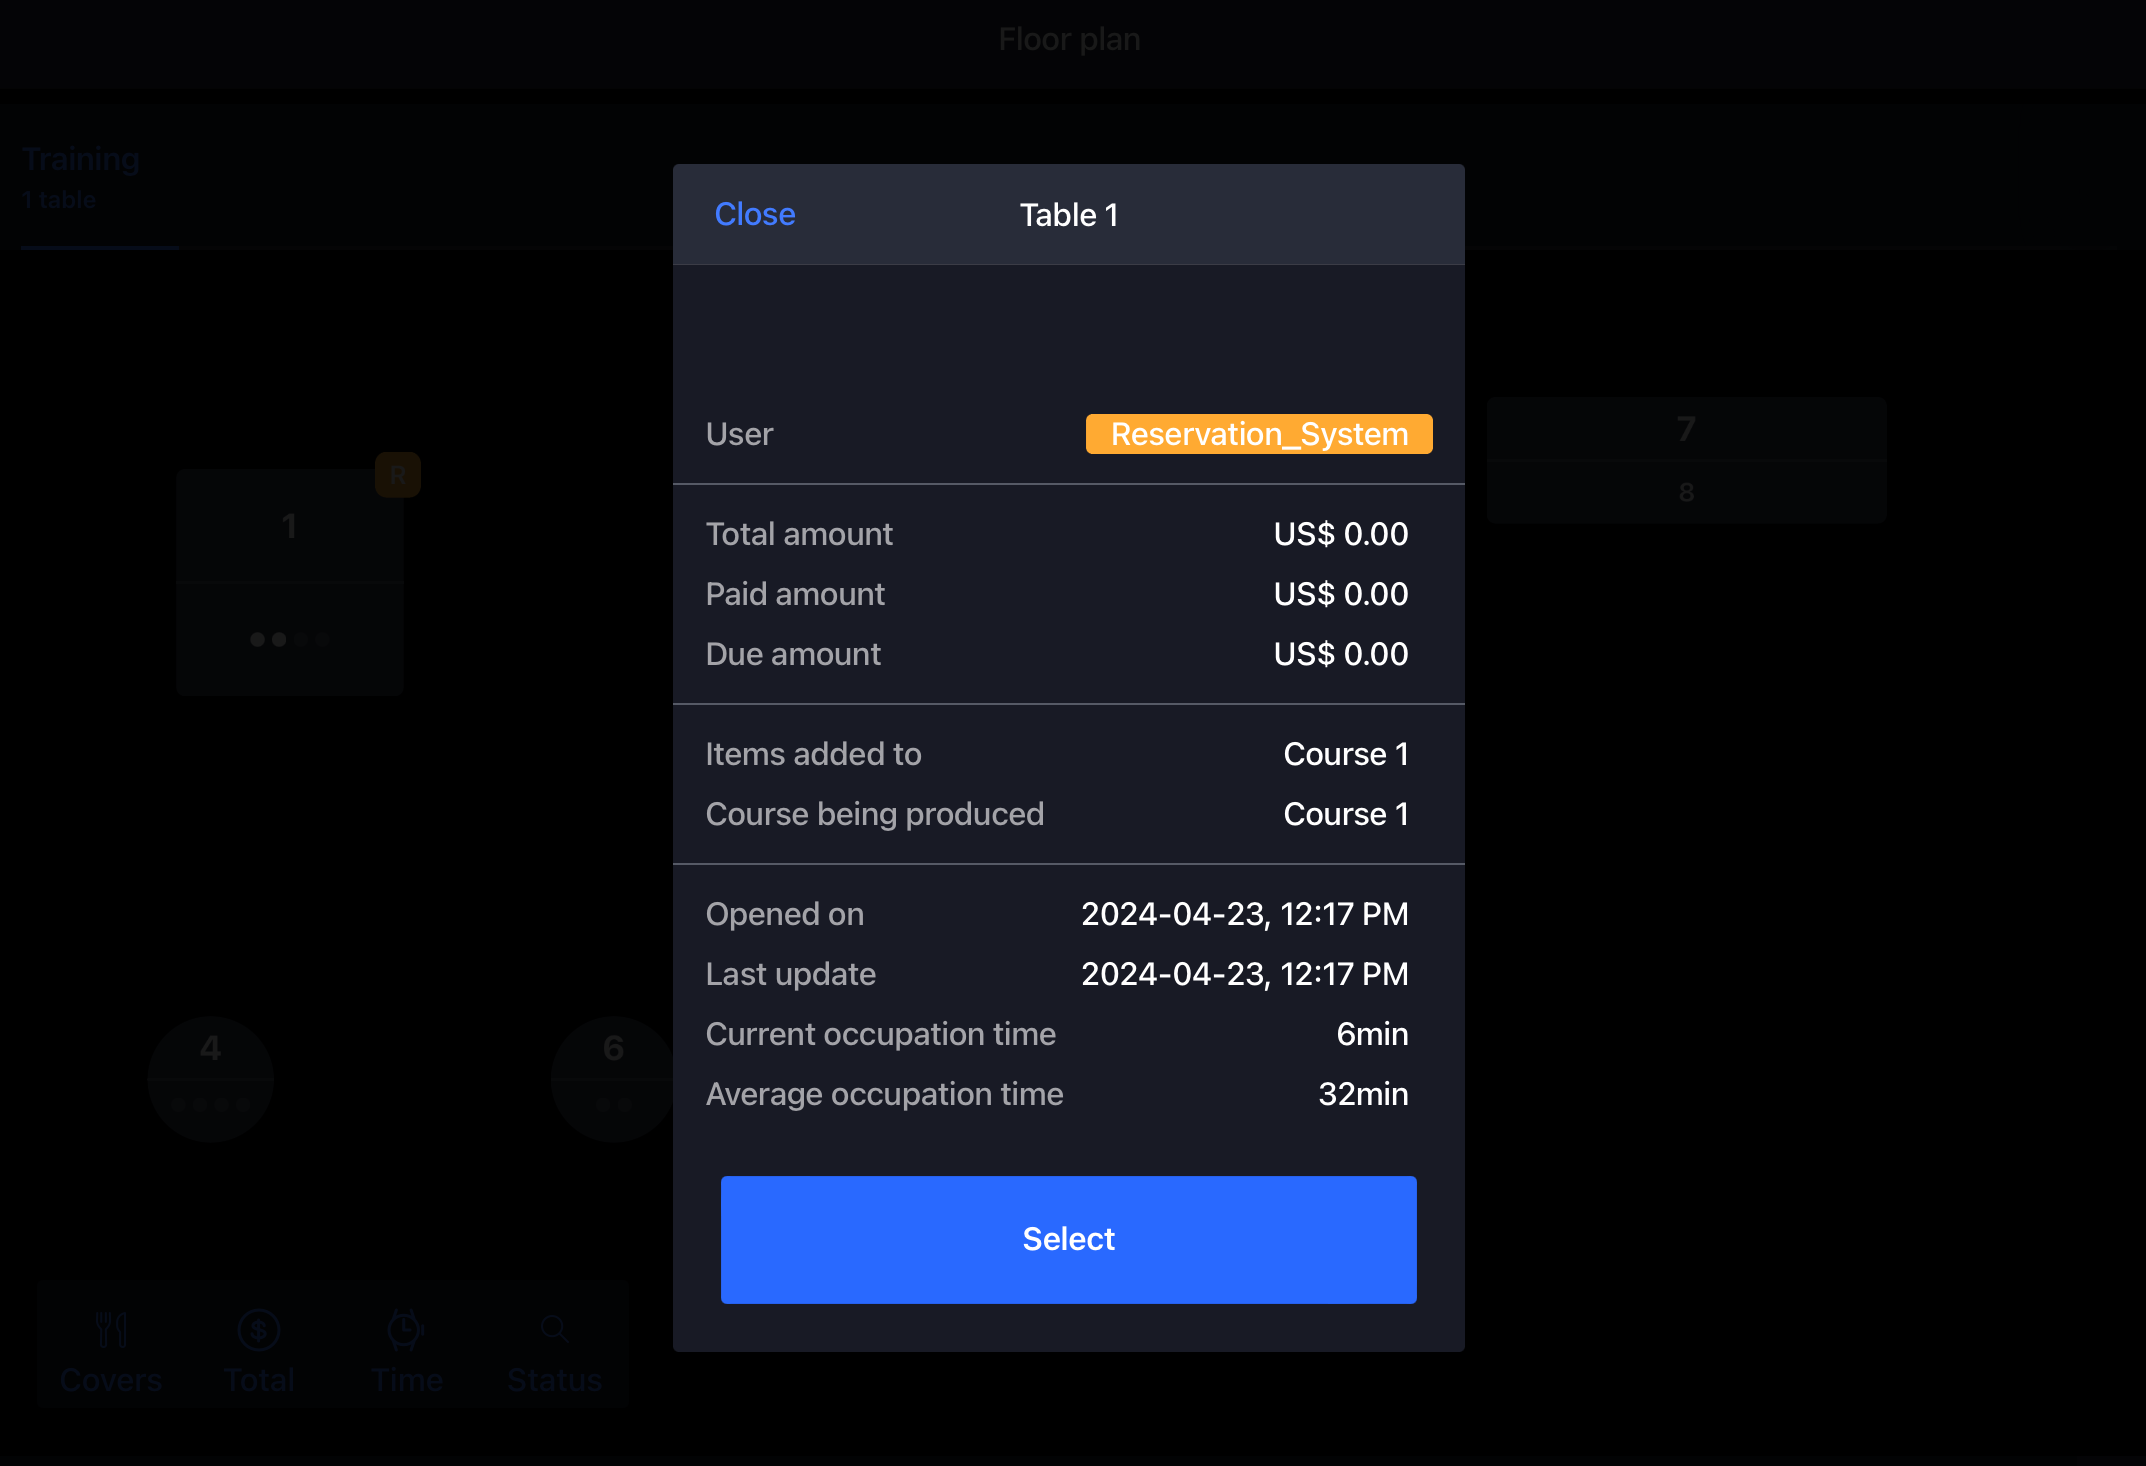
Tap on the table in the floor plan to open the reservation order and tap "Select".
Step 2 - Add Items to Order
Add items to the order as usual.
Step 3 - Apply Deposit Payment
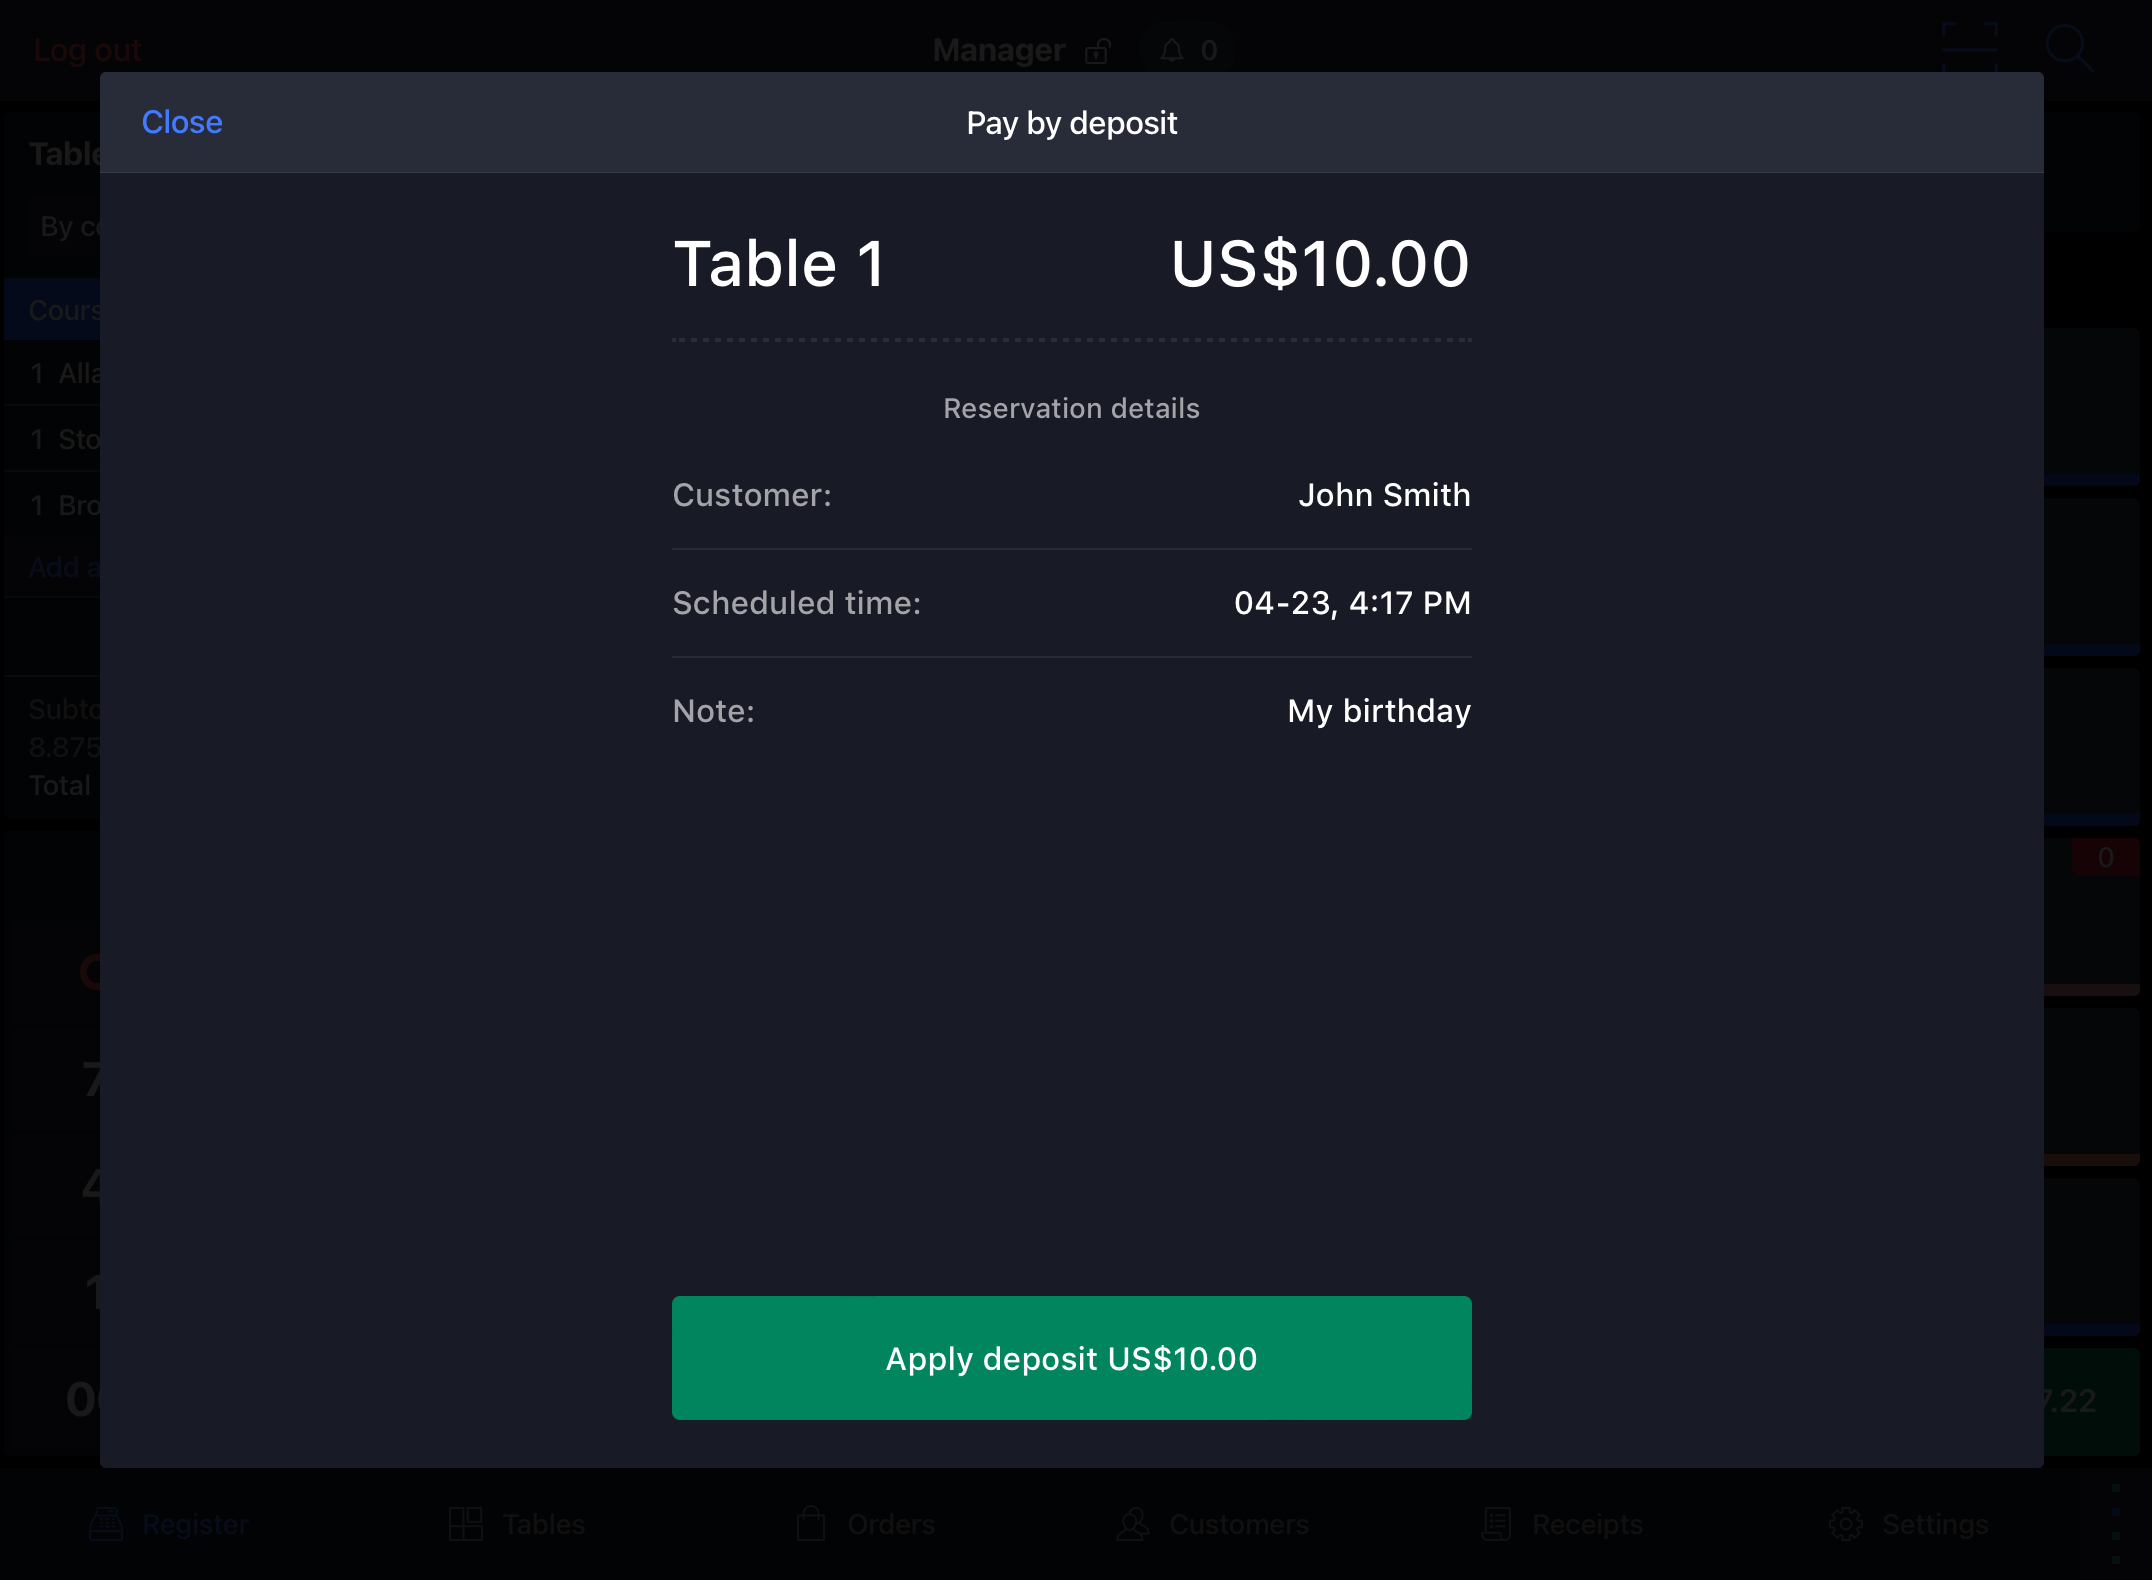
Once items are added to the order, tap on the "Pay by deposit" button on the menu screen. The available deposit amount will be displayed along with the reservation details. Tap "Apply Deposit" to apply the deposit as a payment.
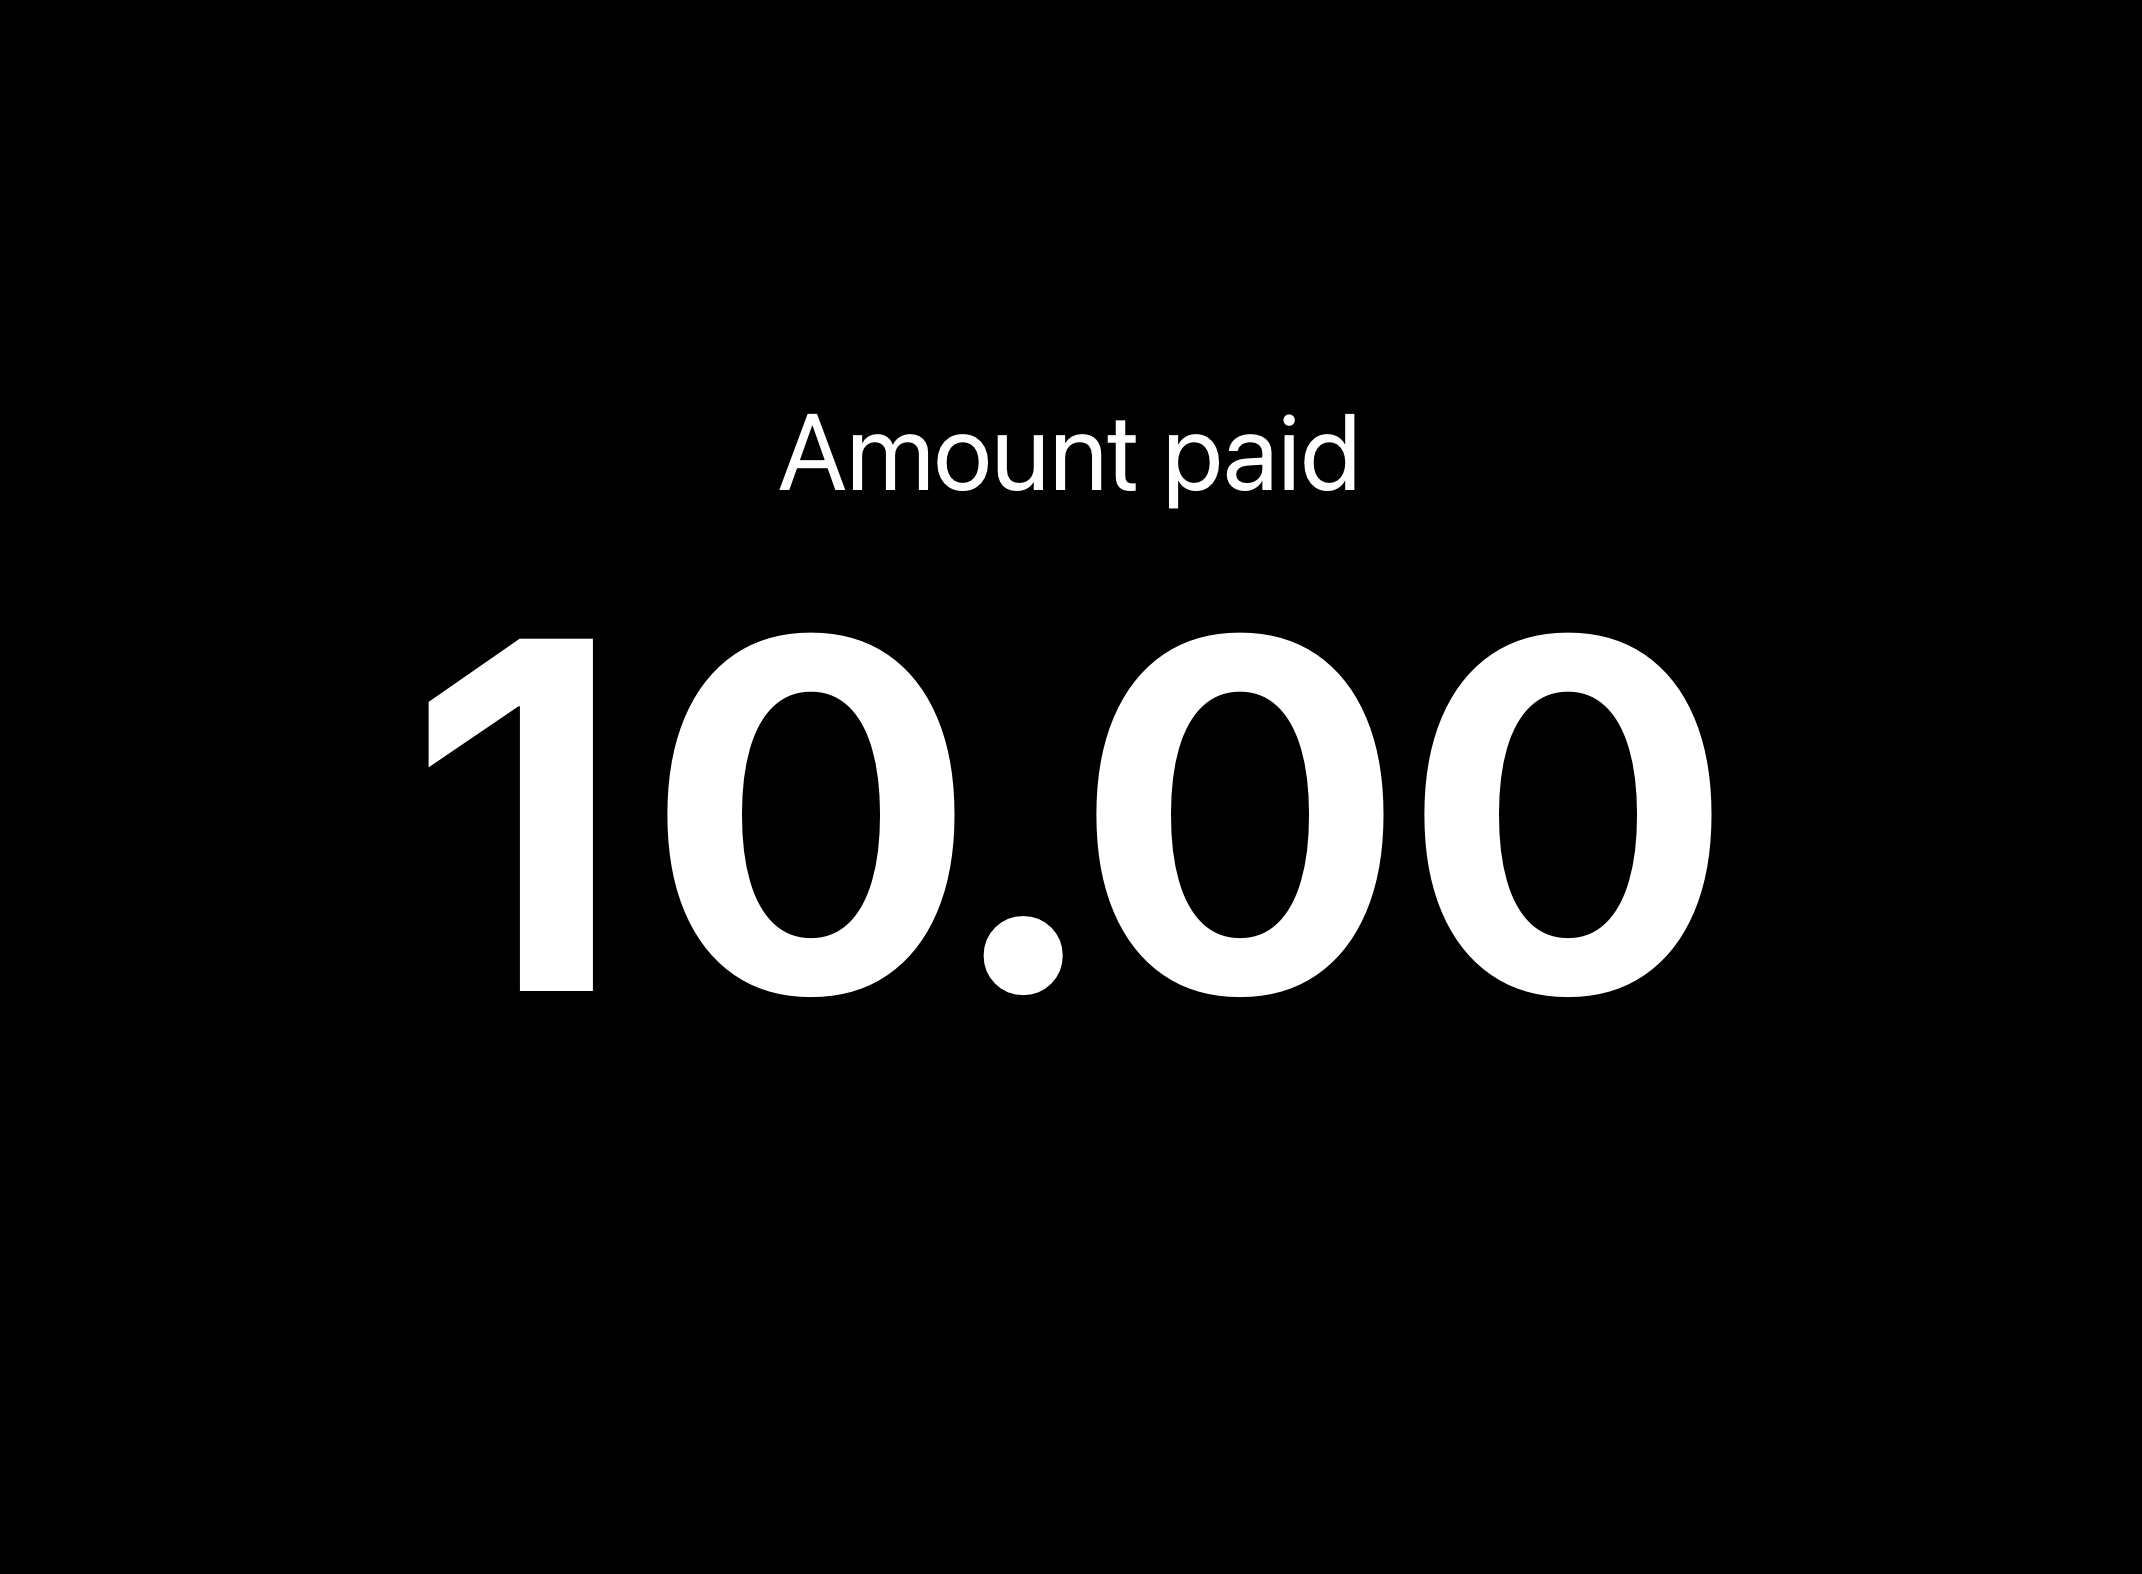
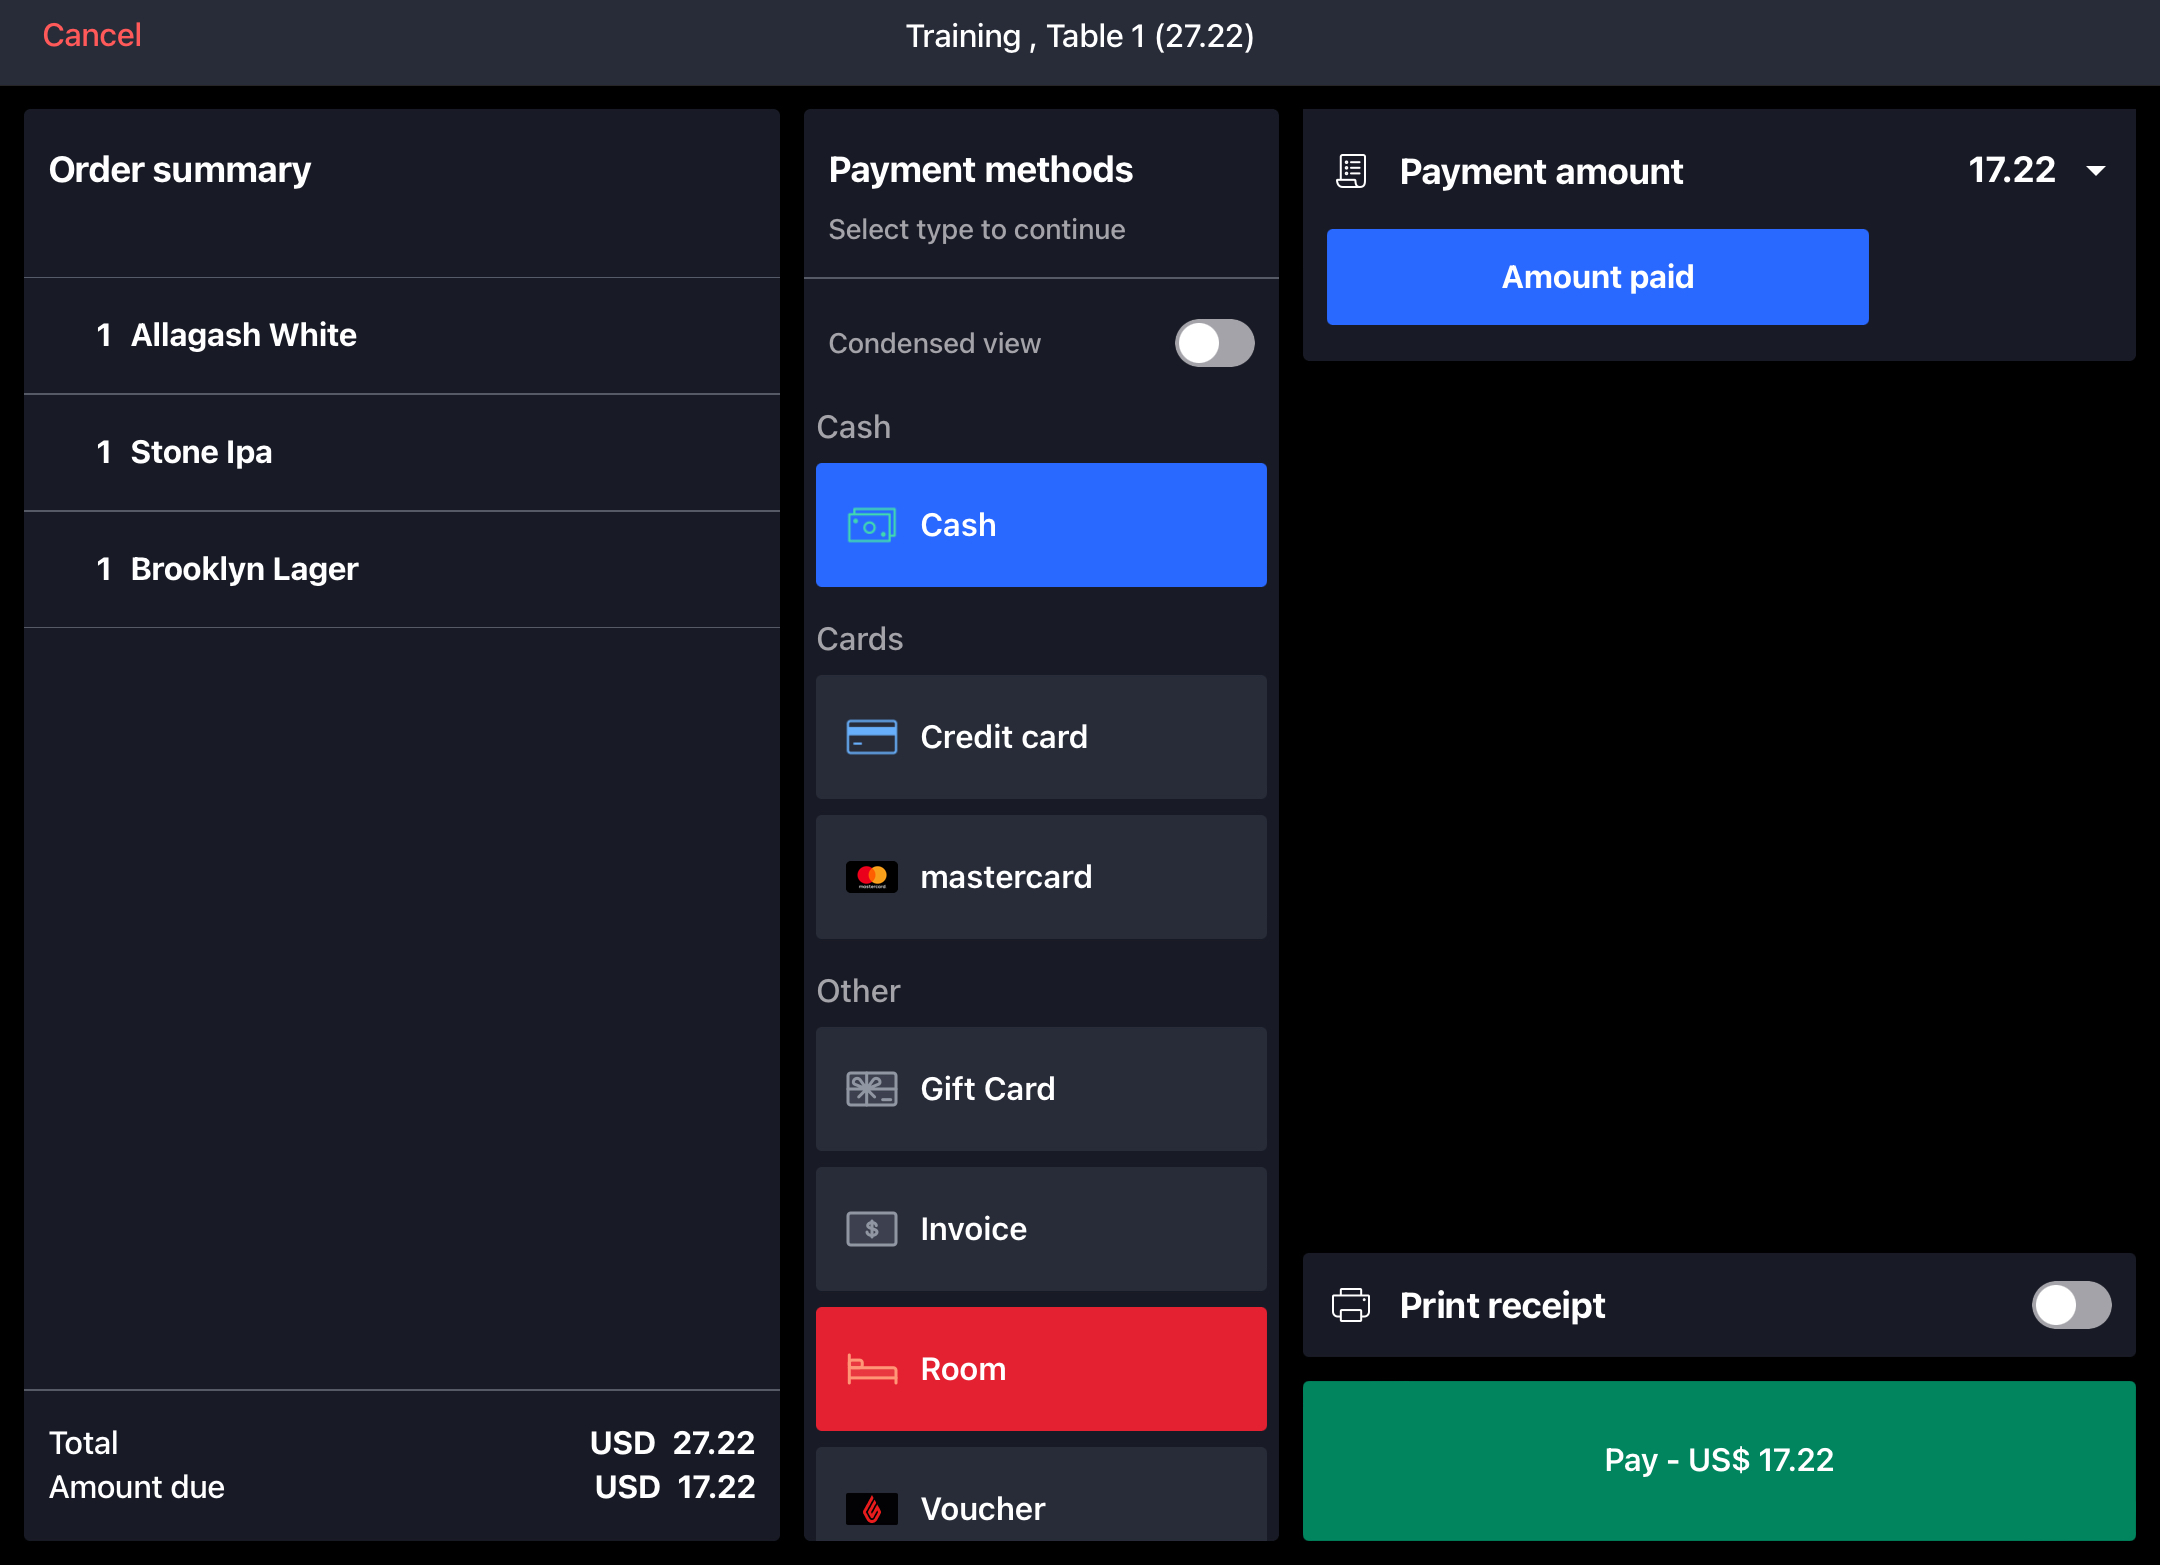
The deposit will be applied and the remaining balance updated.
Step 4 - Complete Payment
Reopen the order and tap "Pay" to complete the remaining payment.
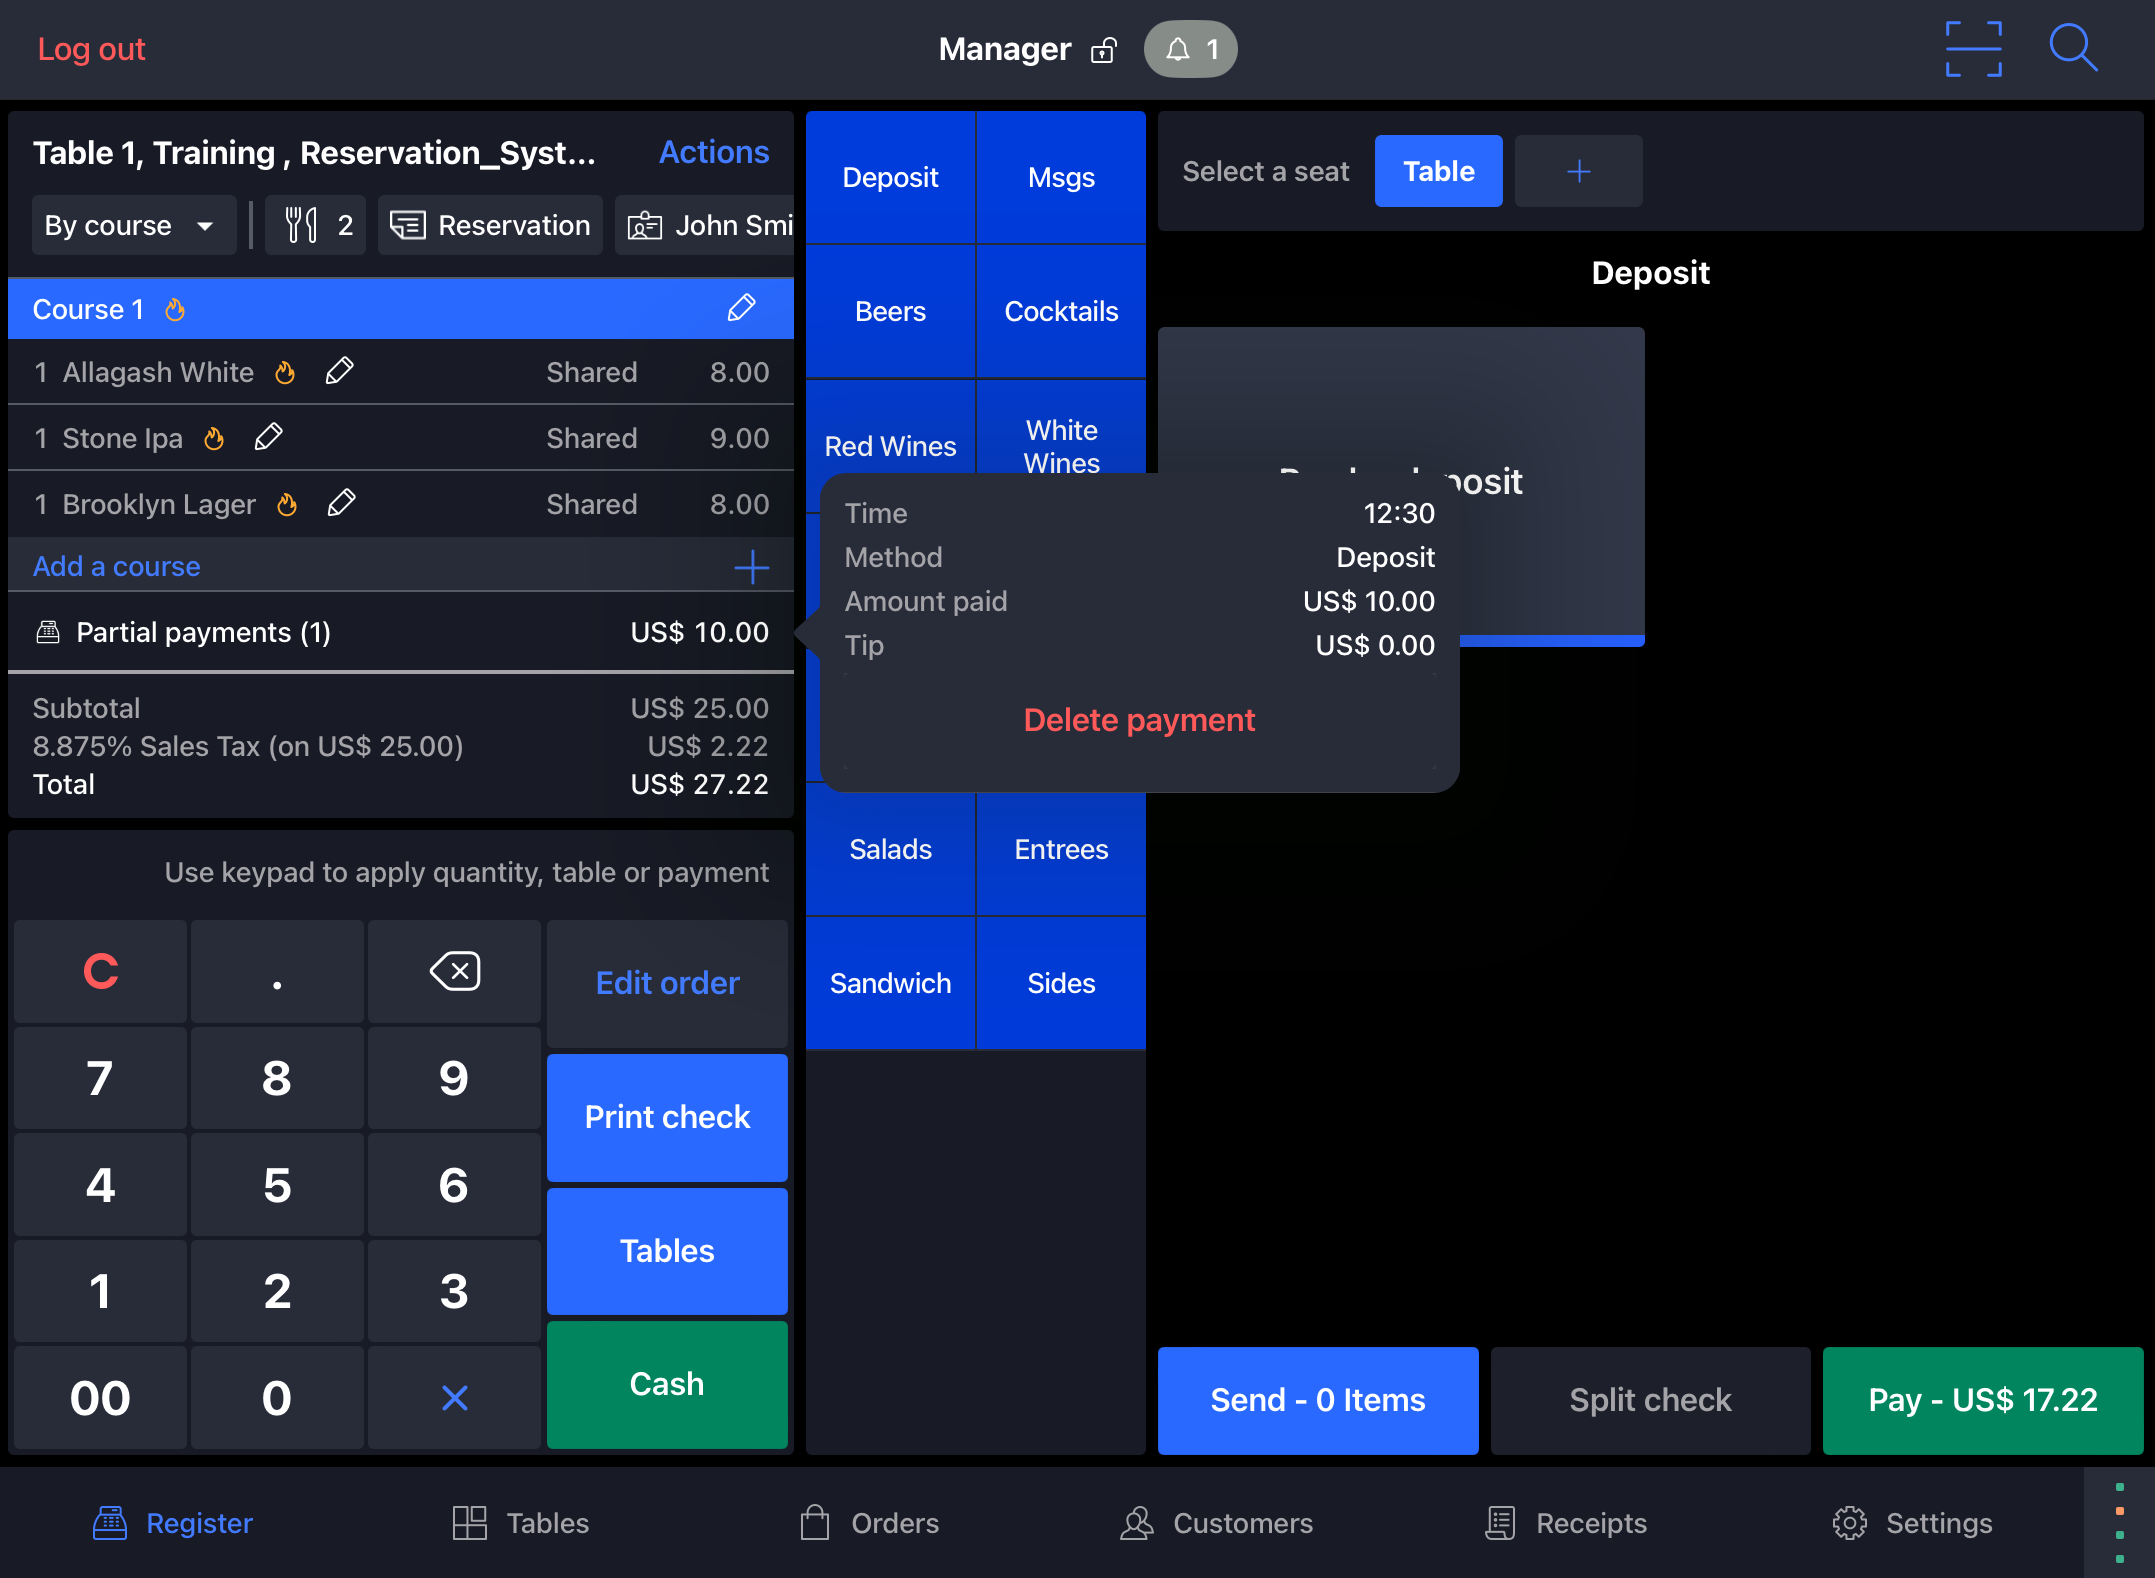
Part 4 - Refunding Deposits
If a deposit needs to be refunded, for example in the case where the cheque is split and it was applied to the wrong cheque, deposit payments can be cancelled.
Tap on 'Partial Payments' on the order screen and select "delete payment". The deposit payment will be cancelled and the remaining balance updated. The deposit will now be available to be applied to another cheque on the same reservation.
