Authentication Tutorial
These are instructions for connecting to the APIs using V2 Authentication. For V1 API Clients, please see Authentication Tutorial (V1)
Introduction
The Lightspeed Restaurant K-Series APIs use OAuth2 to authenticate API users. This consists of four basic steps:
-
A Lightspeed Restaurant K-Series POS user authorizes the API Client to access the account.
-
A temporary authorization code is issued.
-
The temporary code is used to generate an access token and a refresh token.
-
Once the access token expires, the refresh token is used to generate a new access token.
Below you will find step-by-step instructions for retrieving an access token and using it to request data from the K-Series APIs. For further details, see Authorization Overview.
-
Set up a Postman workspace by following our Setting Up Postman tutorial.
-
Have your
client_id,client_secret, andredirect_urifor your trial API client handy. If you do not have an API client, please see Accessing the APIs for instructions on how to request an API client. -
Make sure you have an account on the demo server for testing. If you do not have a test account, you can request one in the Developer Portal.
API Clients are bound to the server they were issued for. This means that if you have a client for the trial environment, it will not work on the production environment. Likewise, if you have a production client, it will not work on the trial environment.
This tutorial is for getting started on the trial environment. To connect to the production environment, you will need to follow a similar process, but with the production URLs and your production API client credentials. See the Authorization Overview for information on connecting to production accounts.
Part 1 - Generating an Access Token
1. Generate Authorization URL
Generate a URL with the following format:
https://auth.lsk-demo.app/realms/k-series/protocol/openid-connect/auth?response_type=code&client_id={{CLIENT_ID_HERE}}&redirect_uri={{REDIRECT_URI_HERE}}&scope={{SCOPES_HERE}}
Make sure your client_id and redirect_uri are correct.
This URL should be opened in a browser window. A login screen will be displayed:
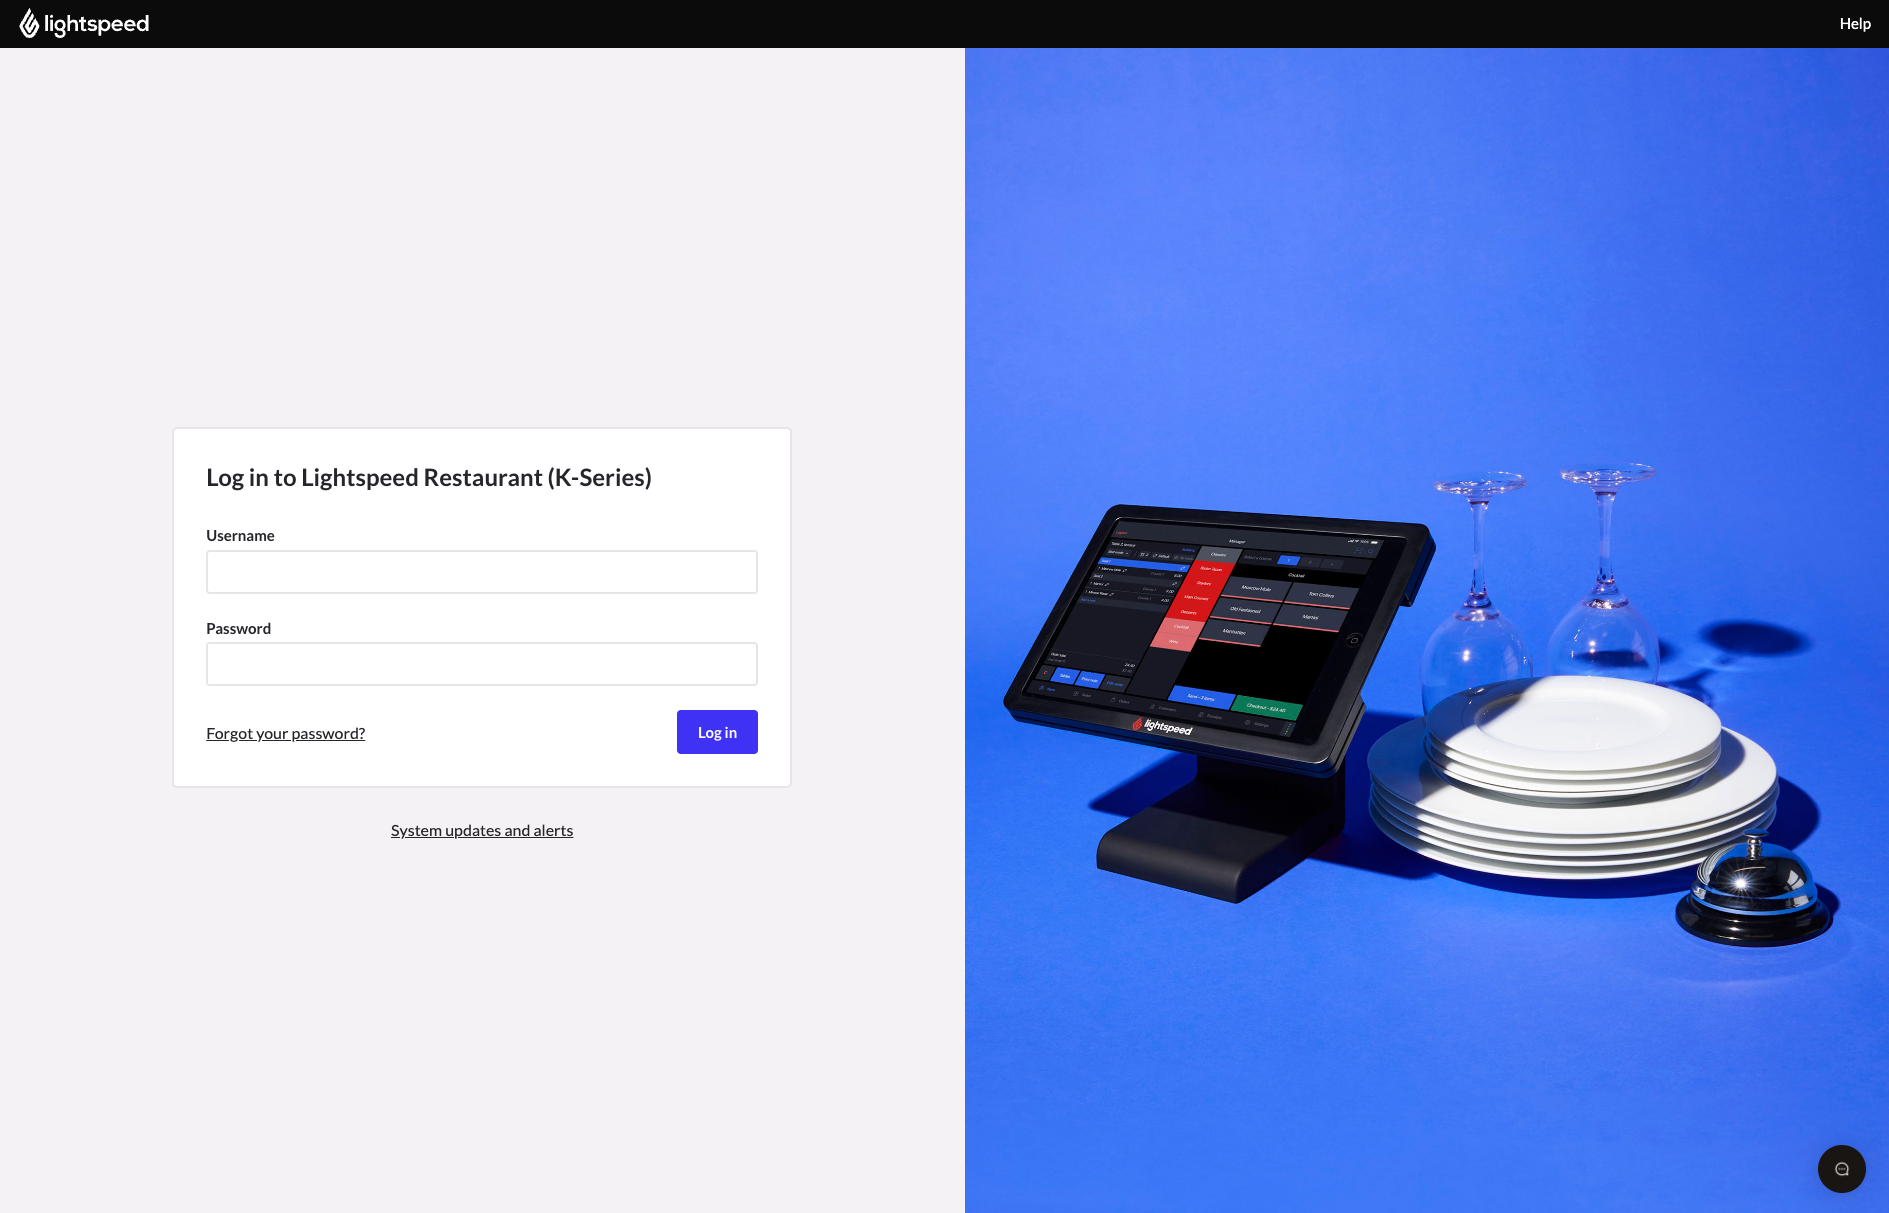
API Clients are created for either the Demo server or the Production server. Make sure your login credentials are for the same server as your API Client.
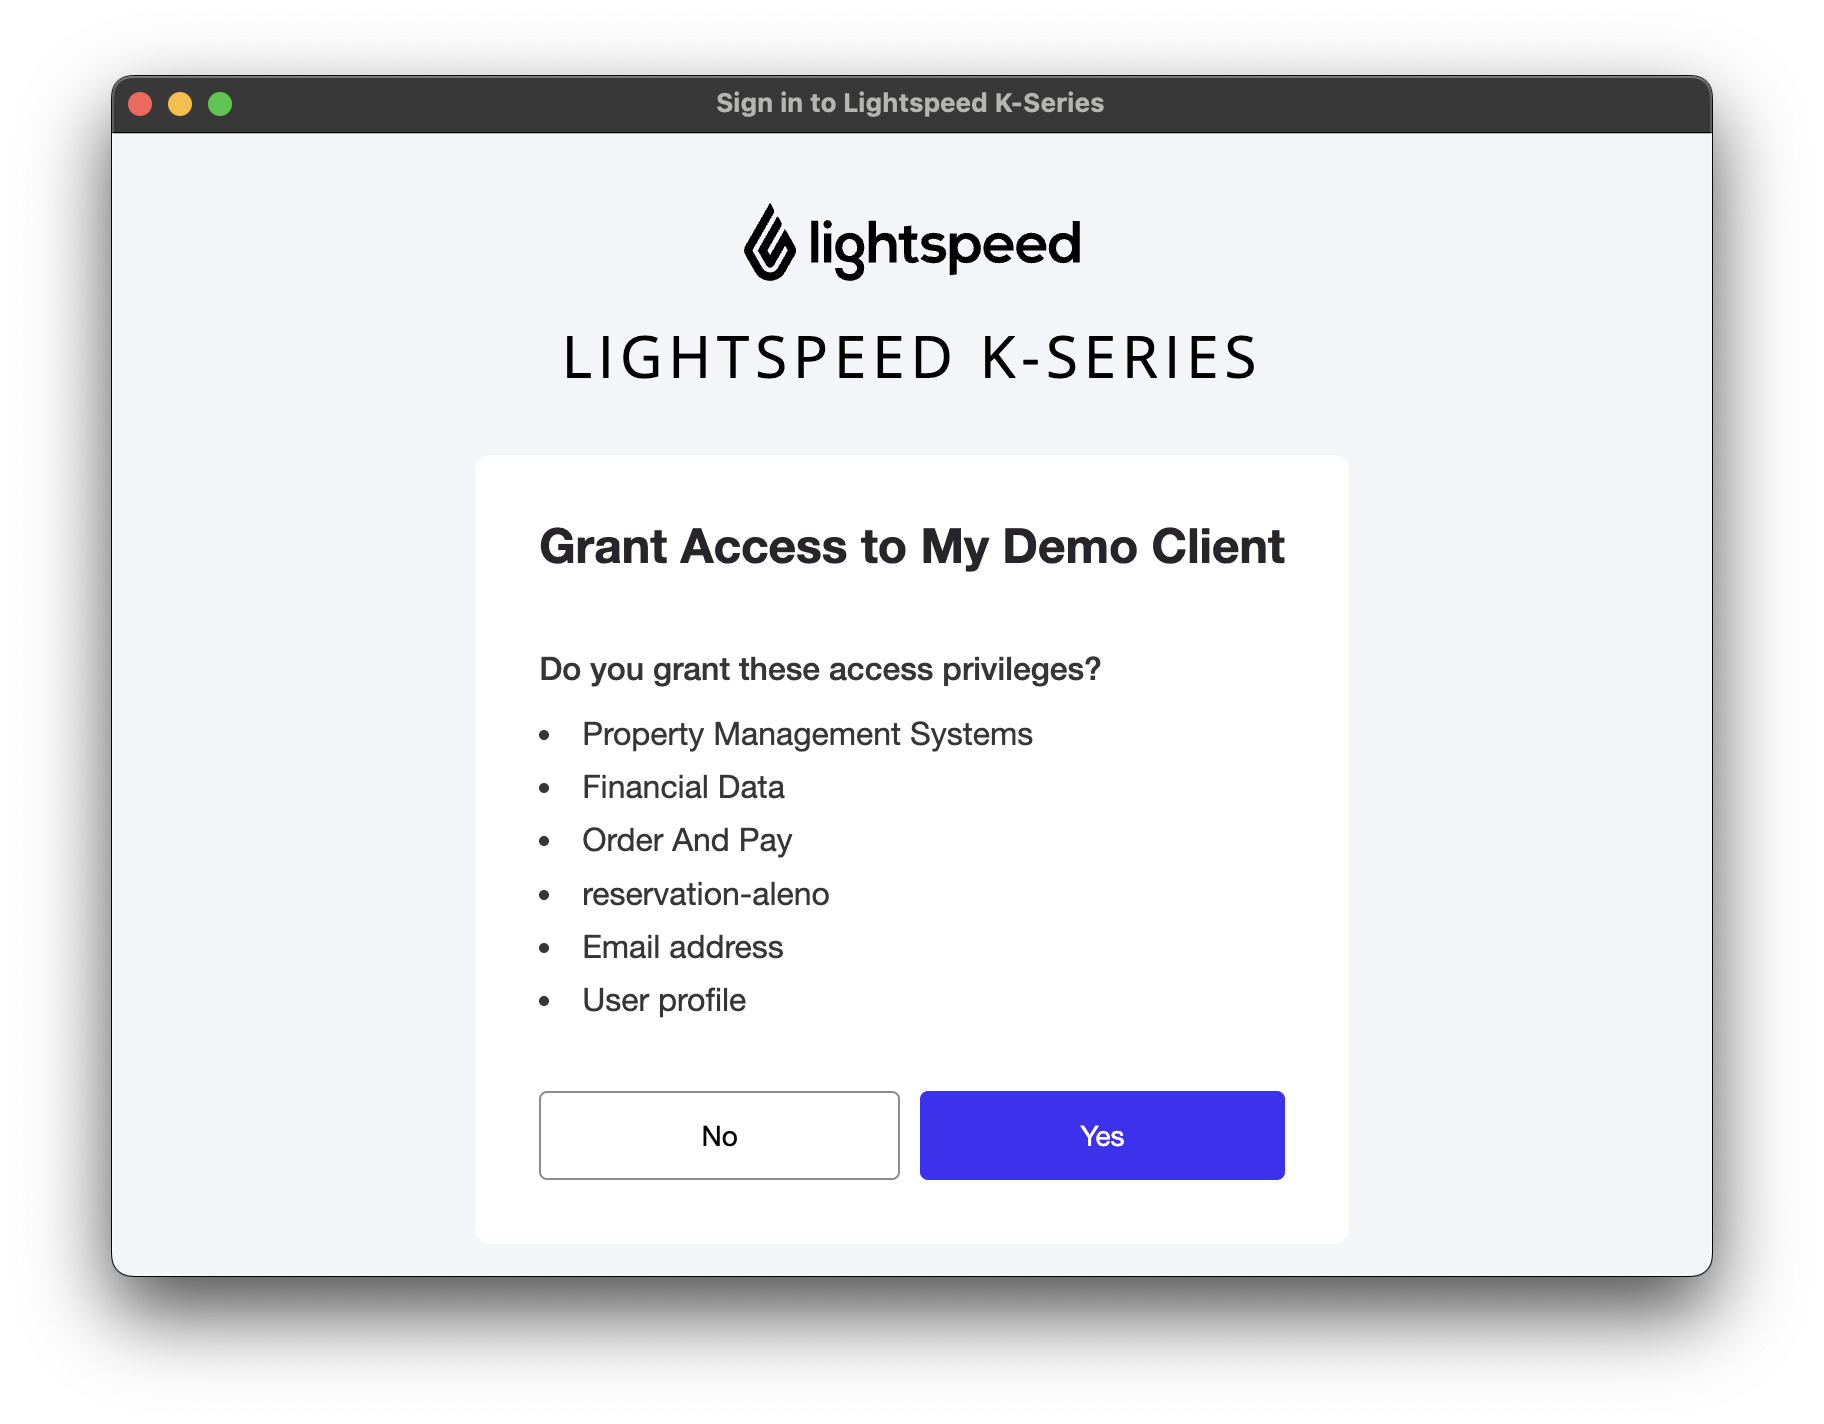
2. Authorize Application
Enter your login credentials and click 'Yes'.
3. Copy Authorization Code
A temporary code will be sent to the redirect URI with the authorization code in parameter. It will look something like this:
https://your-redirect-uri/?session_state=26a01a6c-9603-4596-a48d-86bbcaa54ef8&iss=https%3A%2F%2Fauth.lsk-demo.app%2Frealms%2Fk-series&code=185a6985-b01a-4833-b289-fad154ea2039.26a01a6c-9603-4596-a48d-86bbcaa54ef8.0bb5b13a-f6a0-4da3-9915-f7633ded915f
It will also be displayed in the browser address bar. Copy the code to your clipboard.
4. Add Code to Token Request
Under Authentication > V2, open the POST Request Token - V2 request in your K-Series API Collection. Make sure you have the K-Series Trial environment selected from the dropdown in the top right corner.
Open the Body tab and paste the temporary code in the field code.

When an environment is correctly set up in the K-Series Postman Collection, the client credentials are populated in the Authorization tab of the authentication requests. This allows them to be automatically encoded and added to the request headers.

5. Send Token Request
Click Send.
This request will return the access token and refresh token.
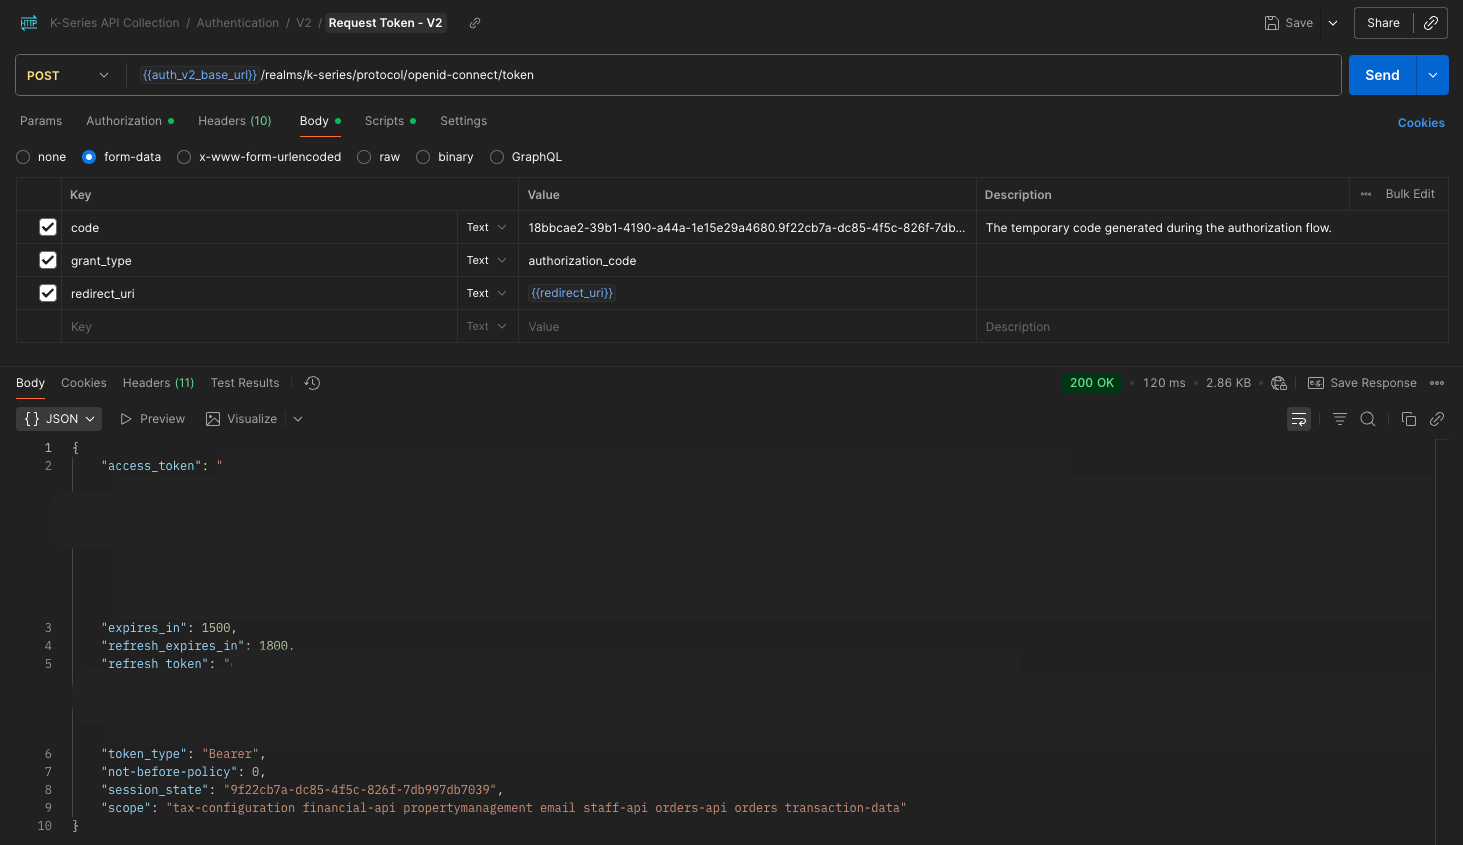
In the K-Series Postman Collection, the scripts saved in the 'Tests' tab of the POST Request Token - V2 request will automatically update the access token and refresh token in your environment. This allows you to easily use the tokens in subsequent requests and replace them when the tokens are refreshed.
Part 2 - Getting Business Details
Your newly generated access token is associated with the user and account that authorized it. Your access token will have access to the same Business Locations as the user.
Both the Order & Payment and Financial APIs offer endpoints to retrieve the account details.
1. Send Get Business Request
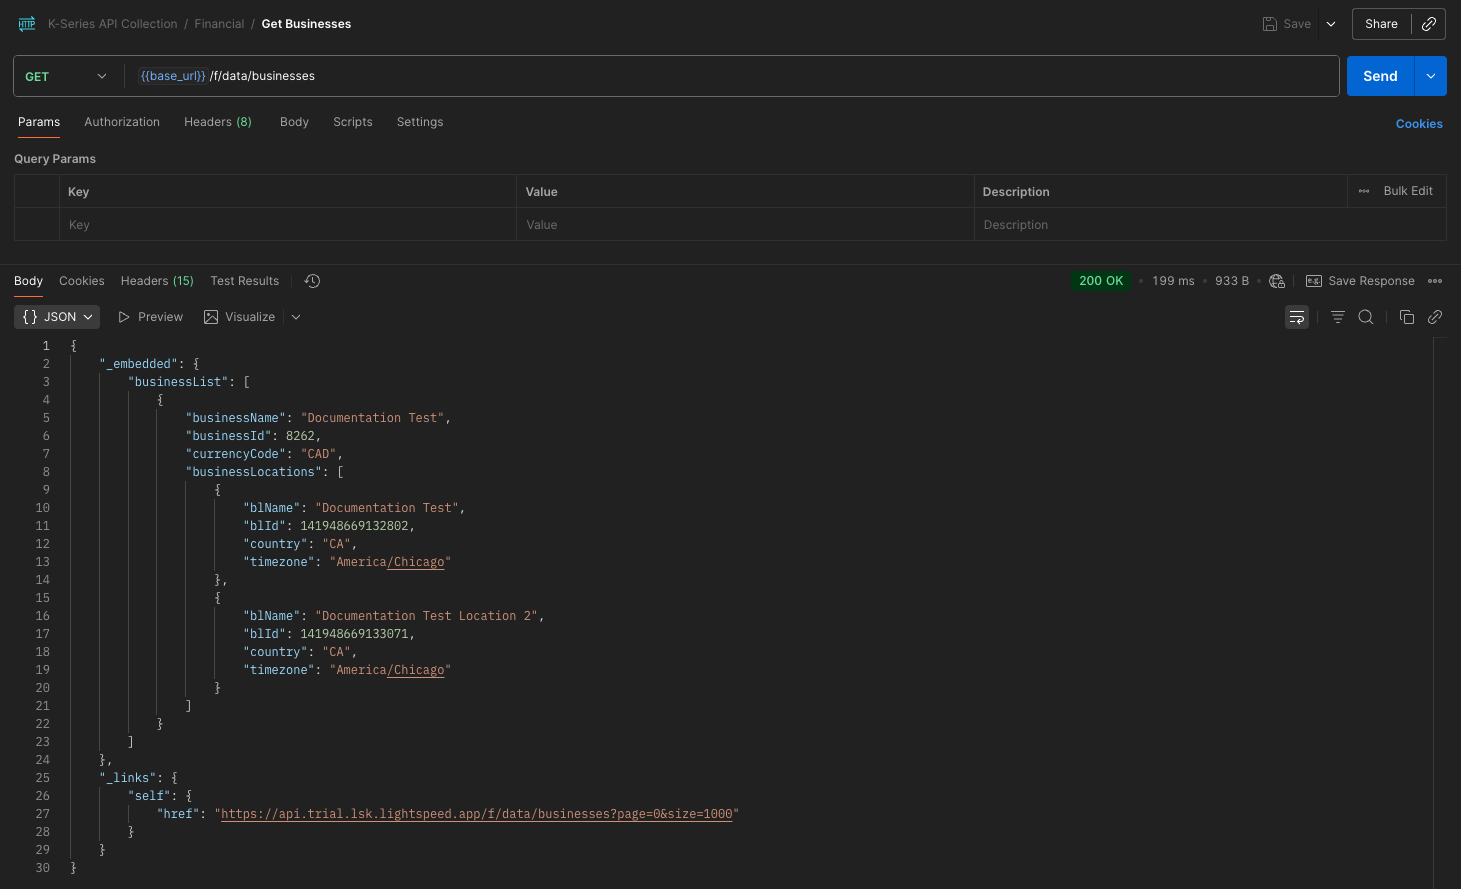
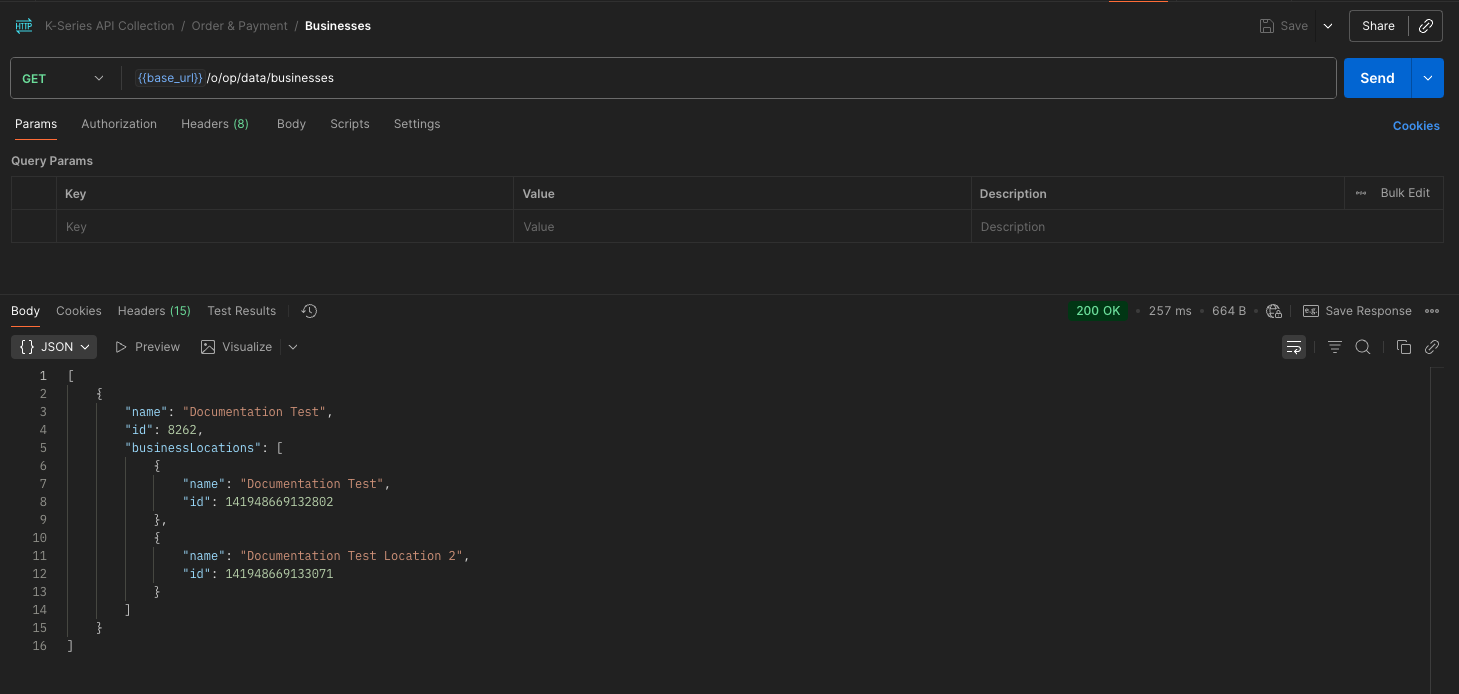
In the K-Series Postman Collection, open either the Order & Payment or Financial API's GET Business request, and click 'Send'.
Financial API example:
Order & Payment API example:
2. Copy Business Location ID
The request will return the Business details, including all the Business Locations that the token grants access to. You can copy the desired businessLocationId to your environment to facilitate making Postman requests to the business location. A Business can have multiple Business Locations. See Business Locations for more details.
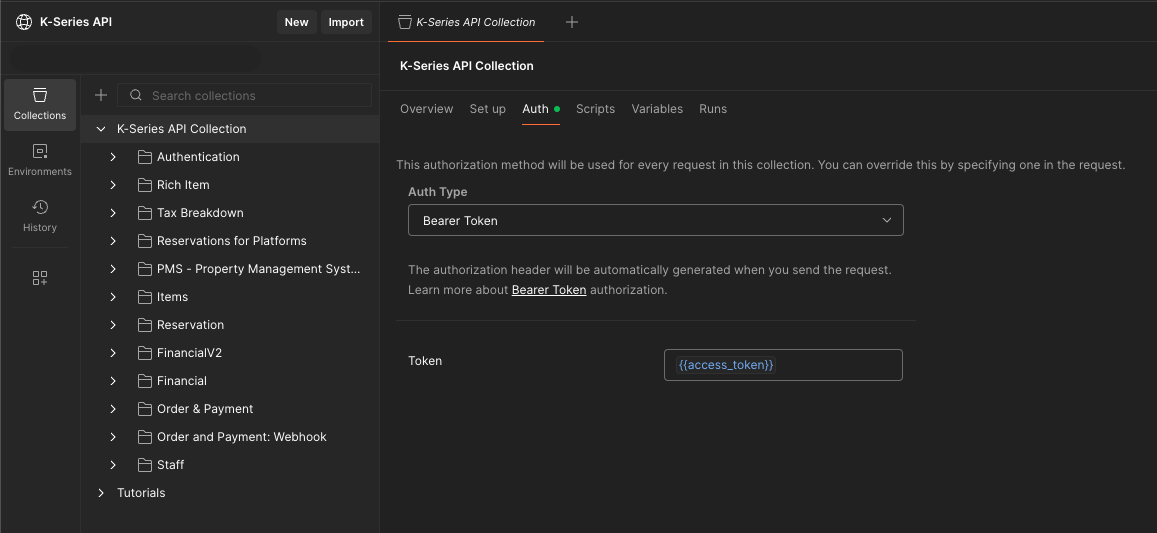
In the K-Series Postman Collection, the reference to the access_token environment variable is saved at the collection level in the 'Authorization' tab. This allows it to be applied across all requests in the collection.
Part 3 - Refreshing the Access Token
Access tokens expire after the interval specified in the expires_in field of the token response. You will need to use the refresh token to generate a new access token.
1. Open Postman Refresh Token Request
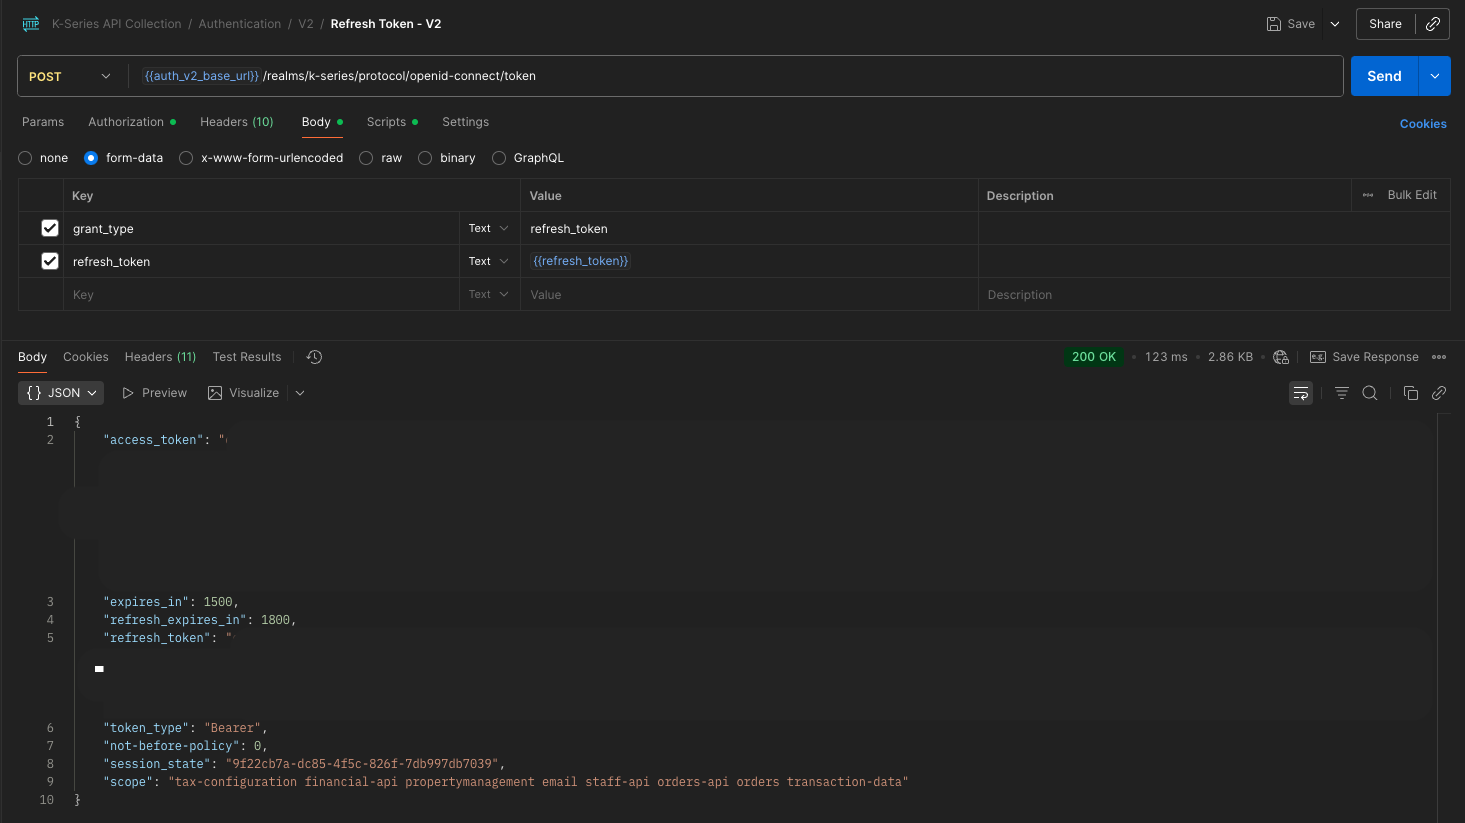
Under Authentication > V2, open the POST Refresh Token - V2 request in your K-Series API Collection. Make sure you have the K-Series Trial environment selected from the dropdown in the top right corner.

2. Send Refresh Token Request
The refresh token should still be saved in your environment, so all you need to do is click 'Send' and a new access token and refresh token will be generated and saved to your environment.
